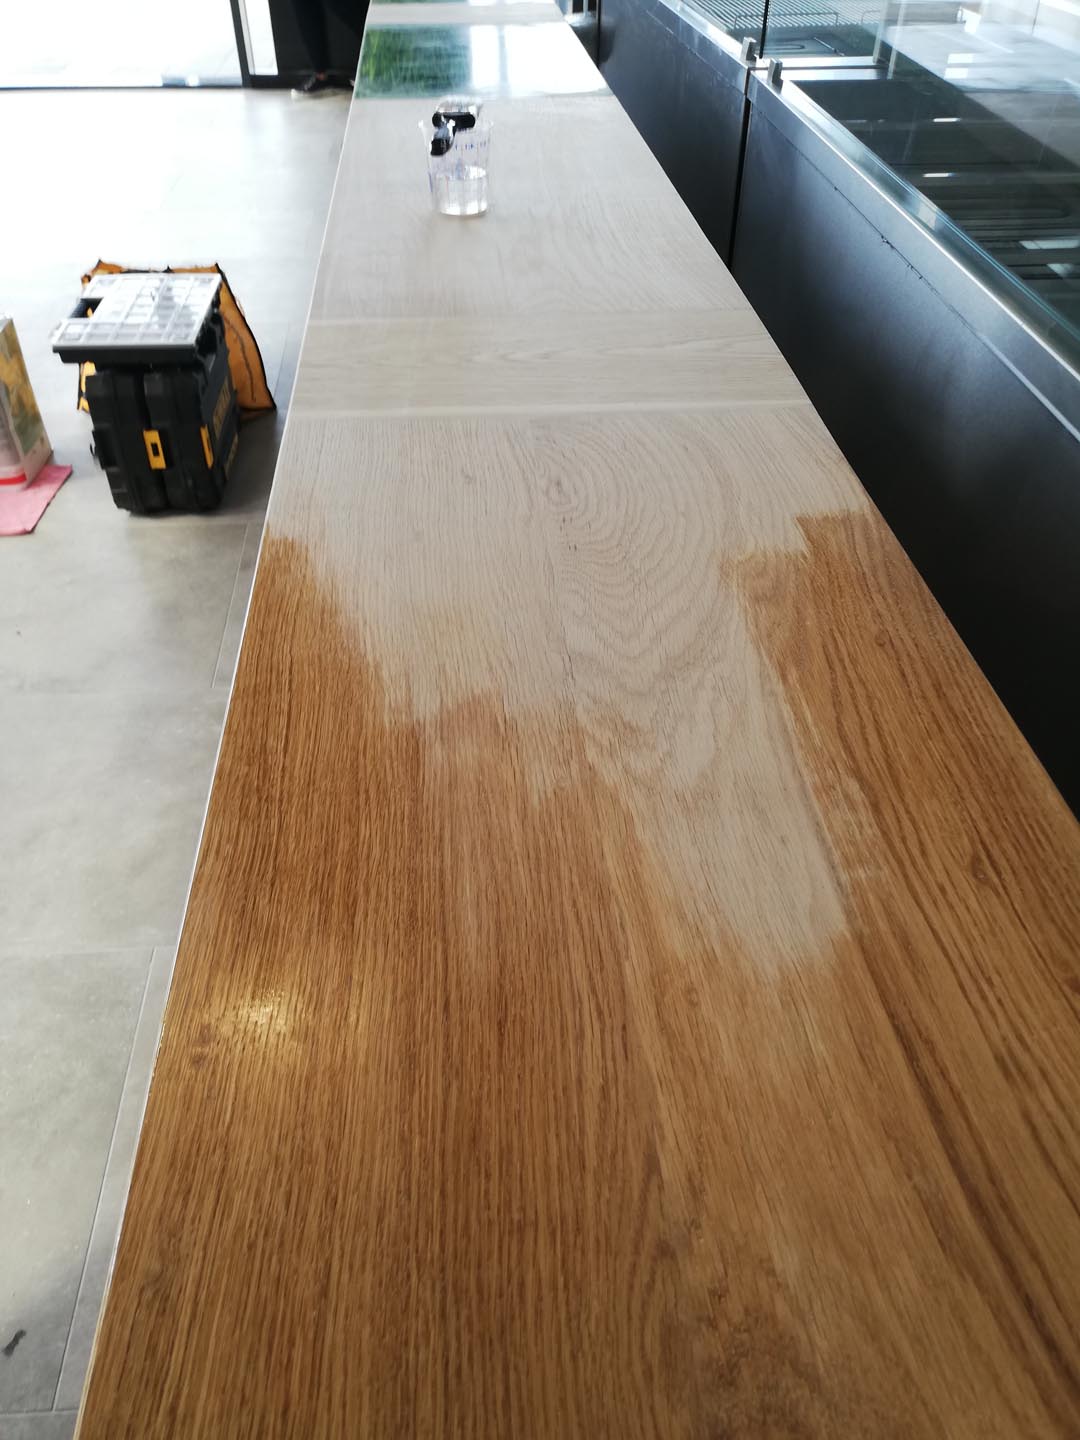
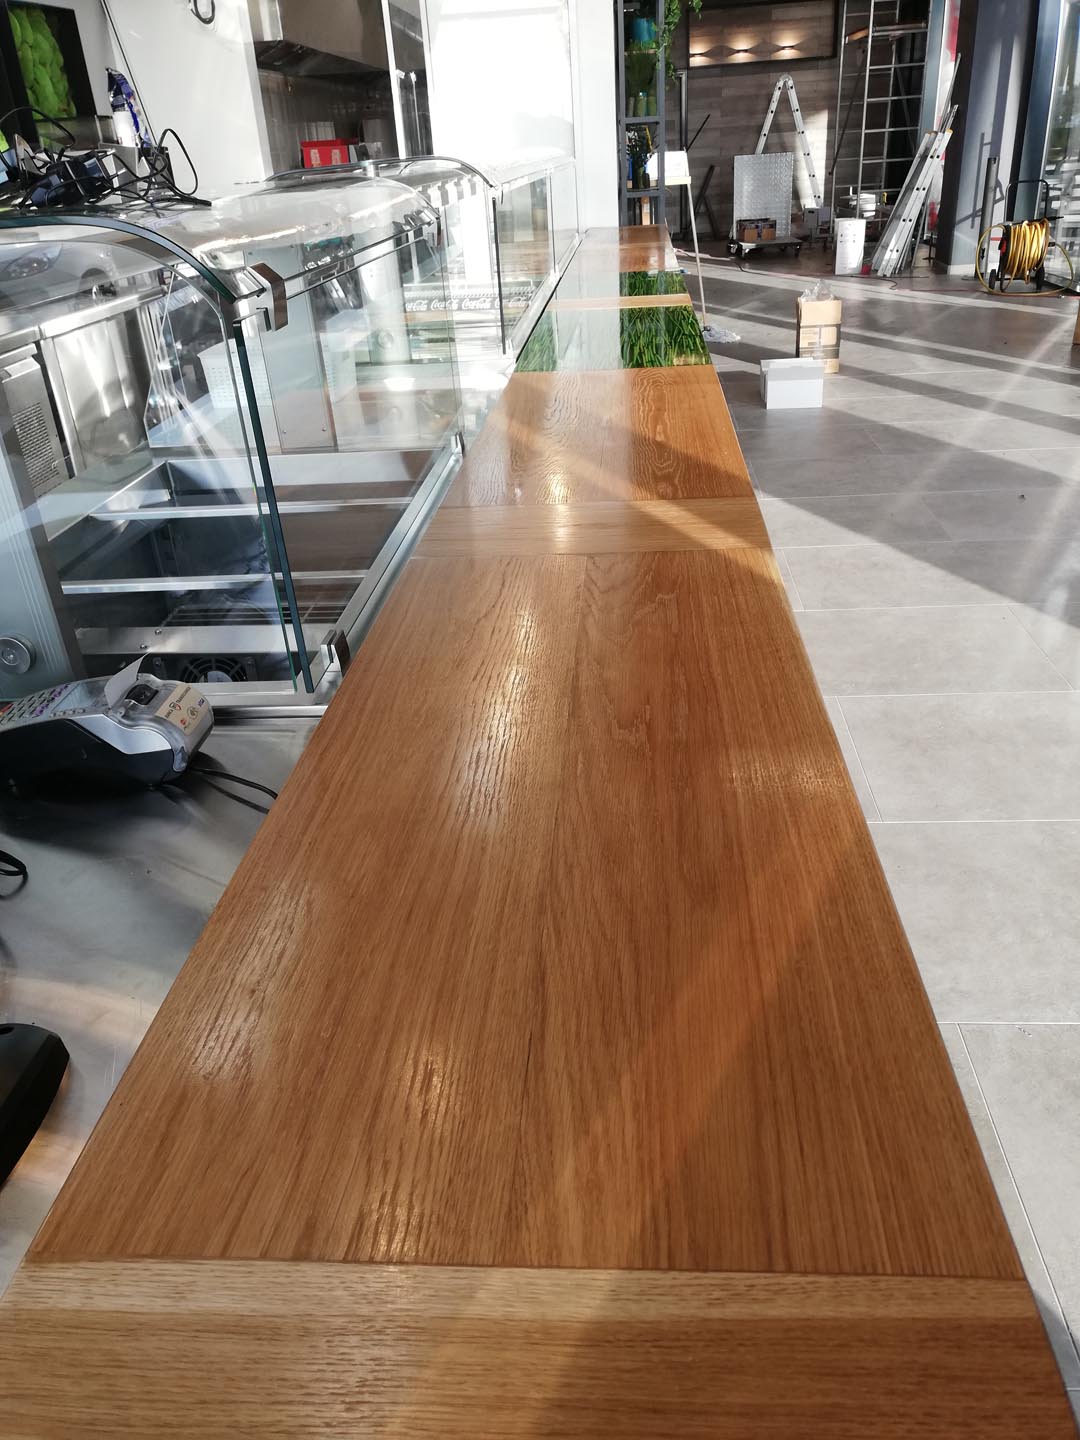
8 meters tabletop
Not long after I started working with wood, a big order emerged out of the blue. I had this thought in my mind that I had to focus on producing small stuff since I had a 7-meter workshop in length. Suddenly, an architect friend of mine came with a proposition. She was in charge of the interior design of a fast-food restaurant and among other things, she had to have an 8-meter tabletop. I was a bit shocked by the dimensions (longer than my studio), but I knew I had to take the offer, the challenge, which I did!
I was confident that I could do it, although I had never accomplished such a big piece before. For sure, this job required a good plan and accurate execution because immediately the modular option popped up in my mind. I had to design the piece in modules to be able to make them, transport everything, and assemble everything on the spot. Easy to speak, harder to actually do it.
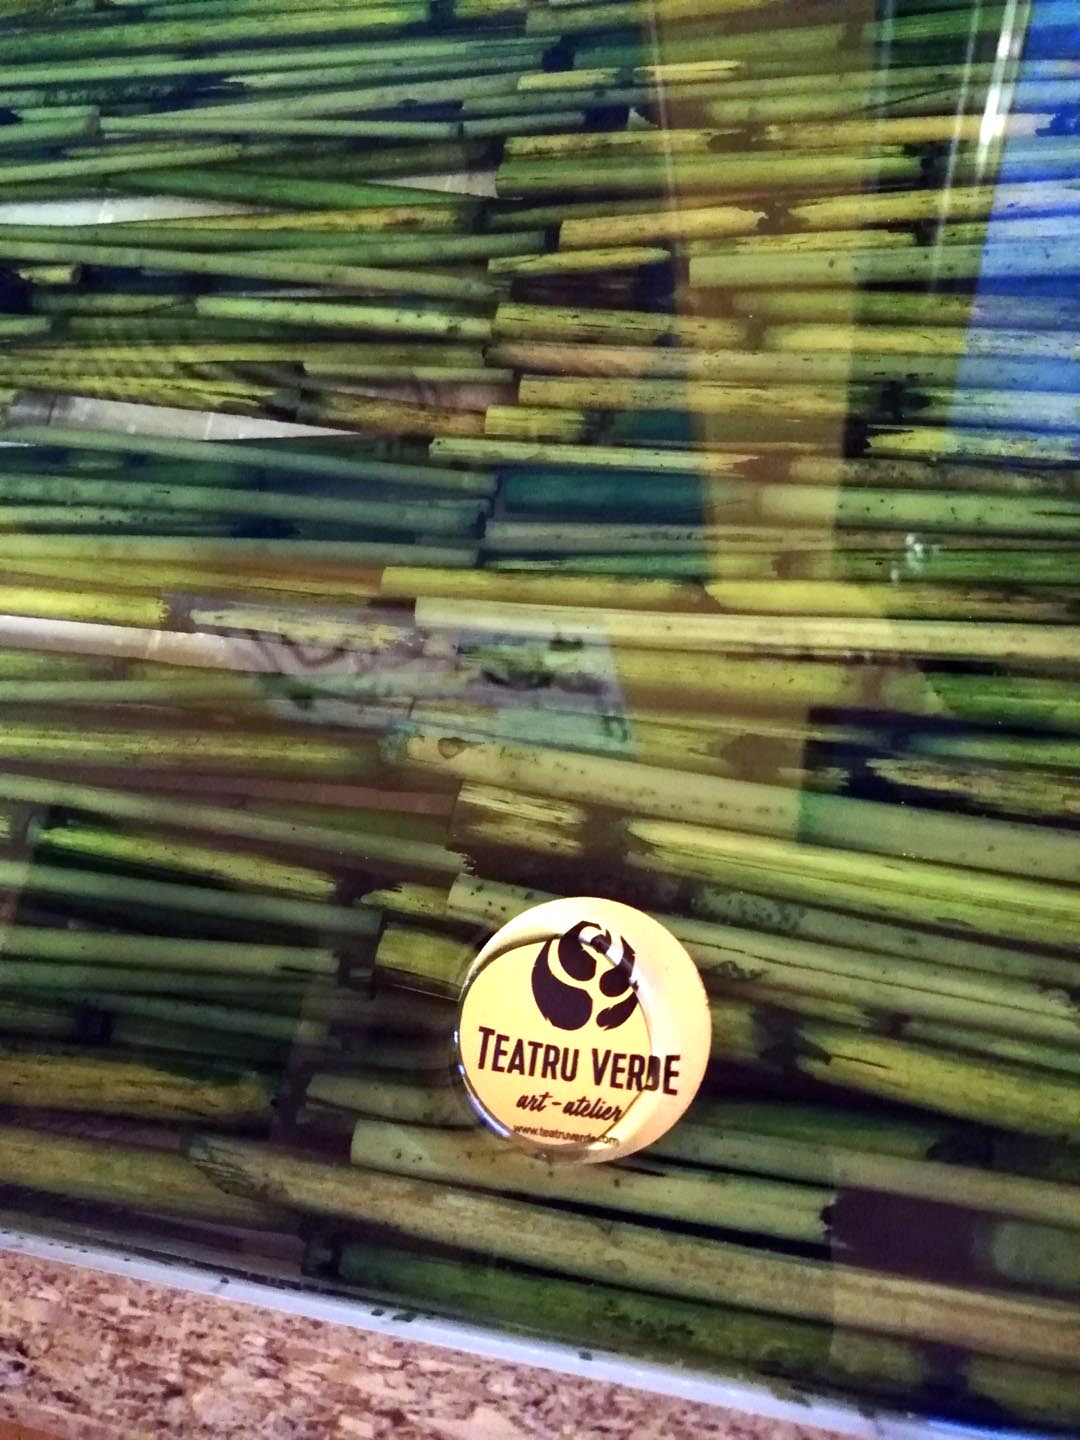
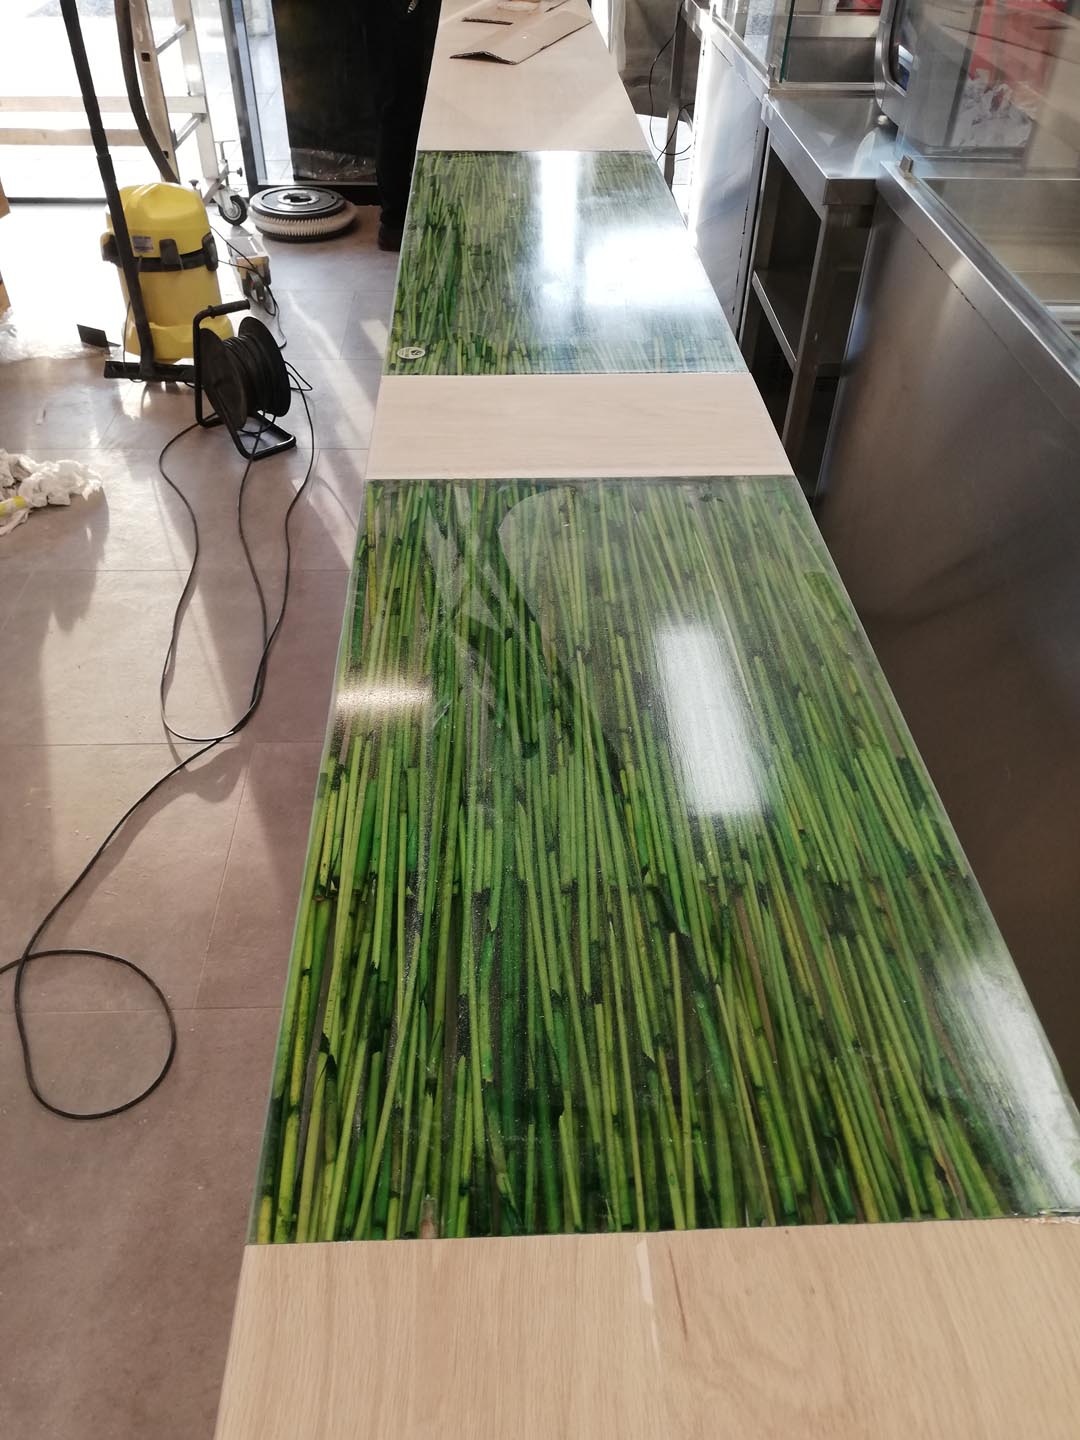
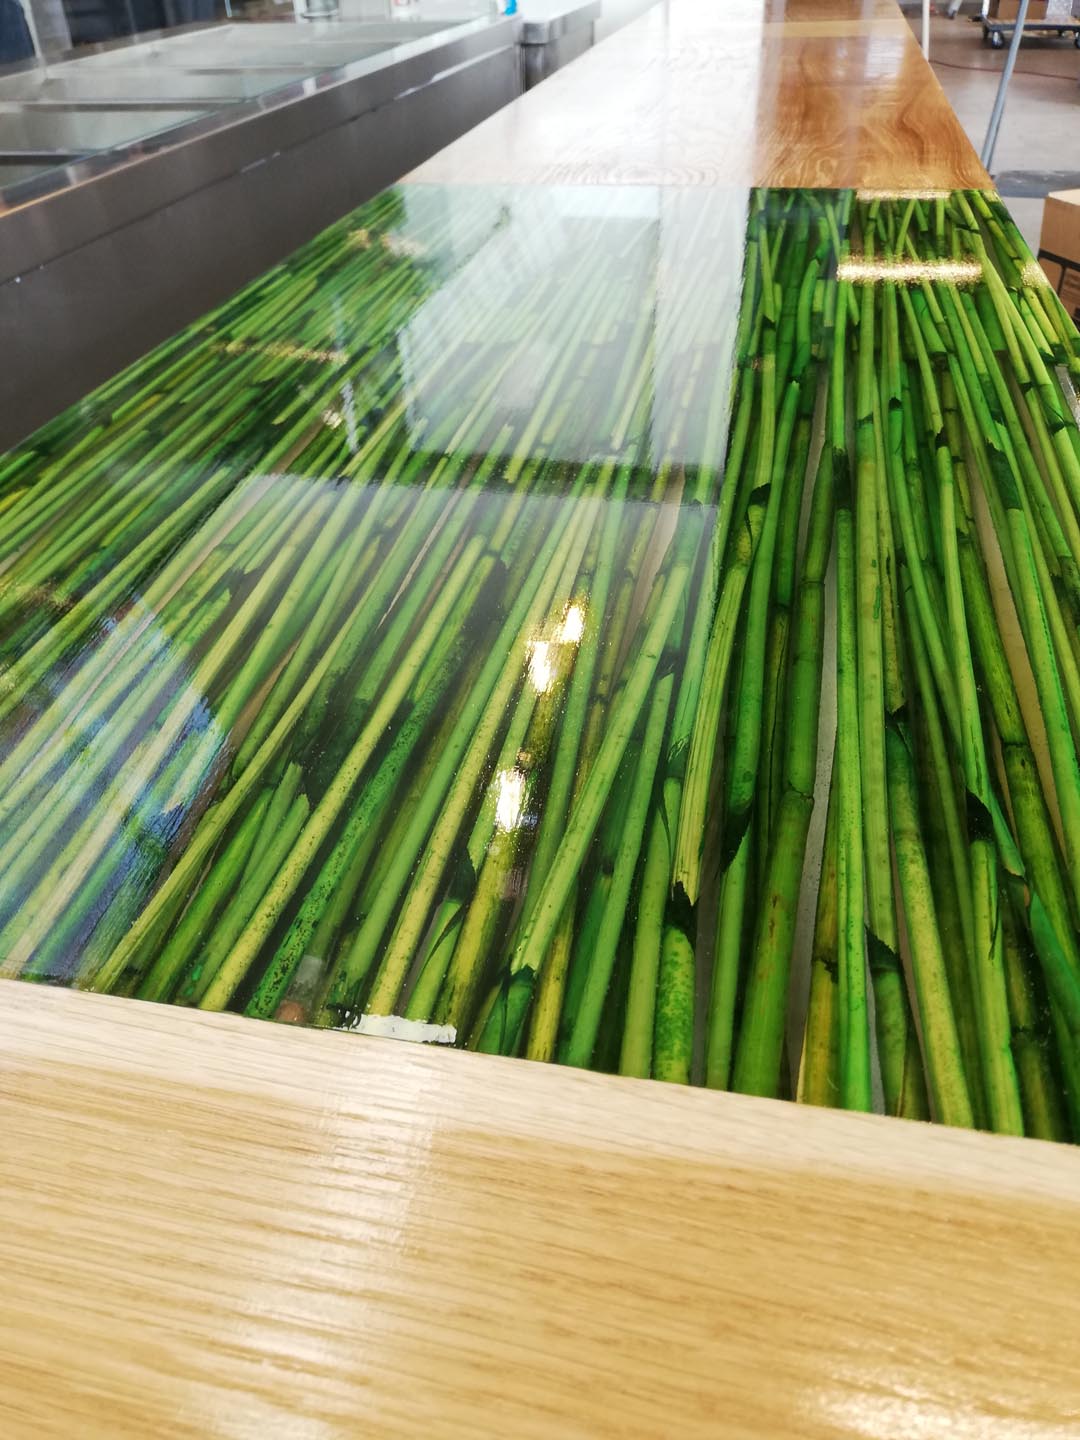
I chose oak for its beauty, strength, and natural resistance to humidity. Once I started the drawing, I decided to add a green color infusion by creating two panels of green bamboo casted in epoxy, as the client liked a previous work in which I had used that type of bamboo. So, actually, this was not entirely my decision. The designer showed my portfolio to the client, and he loved that project. He wanted that color. To be honest, I was proud of that. And what I liked the most was that he did not want the bamboos to be included in a certain way, so I was free to come up with sketches and inlay the vegetal material in whatever way I wanted to. I made a few drawings, and the designer and the client immediately agreed on one. I wanted it to look good and not to complicate things too much because I felt like a lot of difficulties would come up later in one way or another.
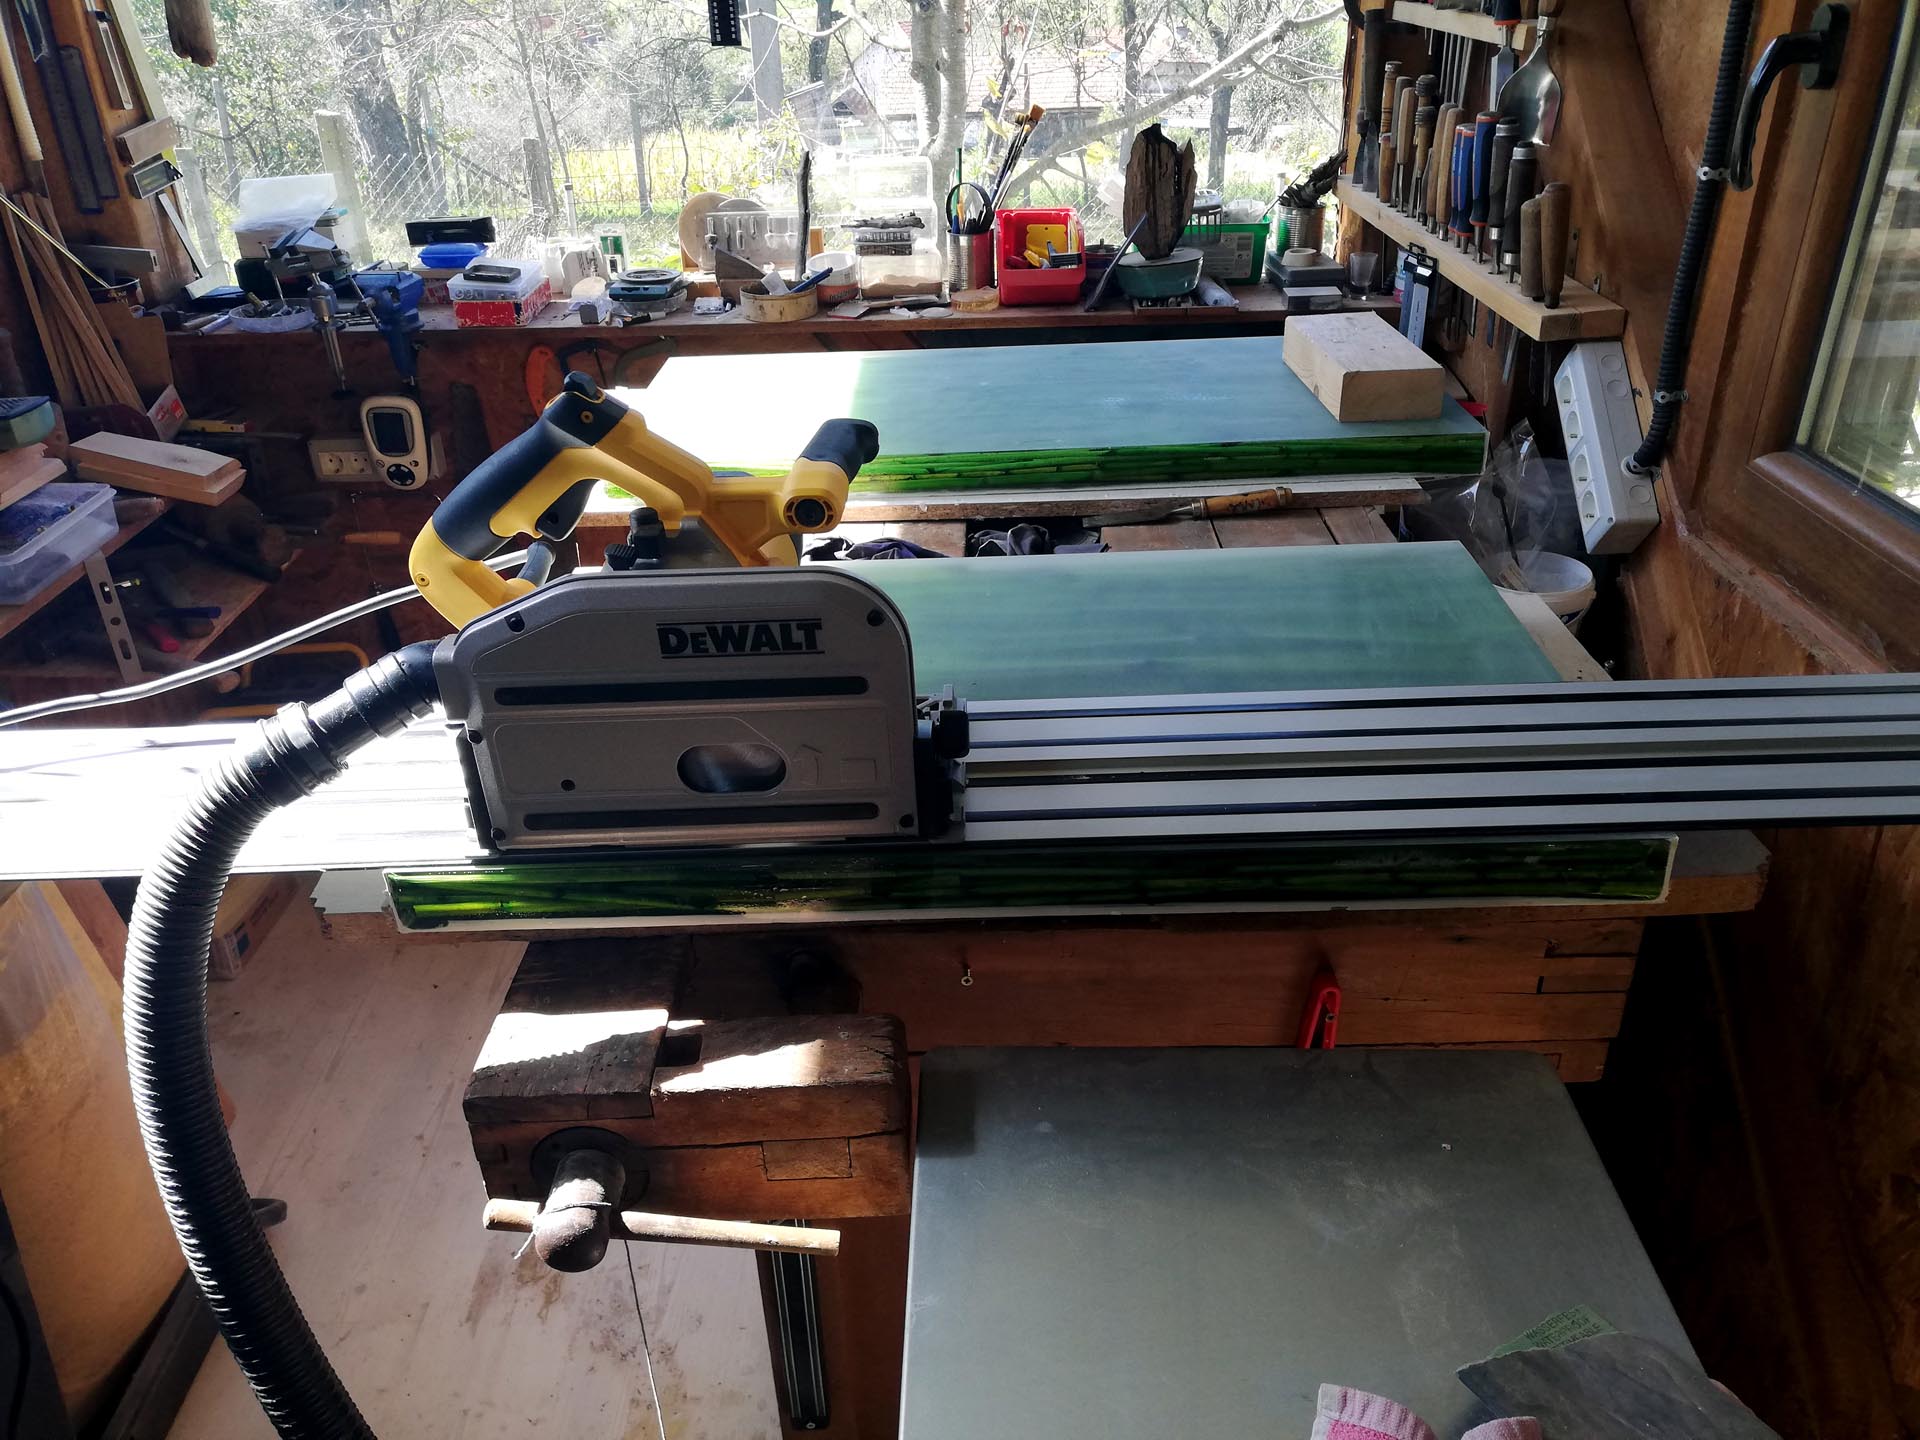
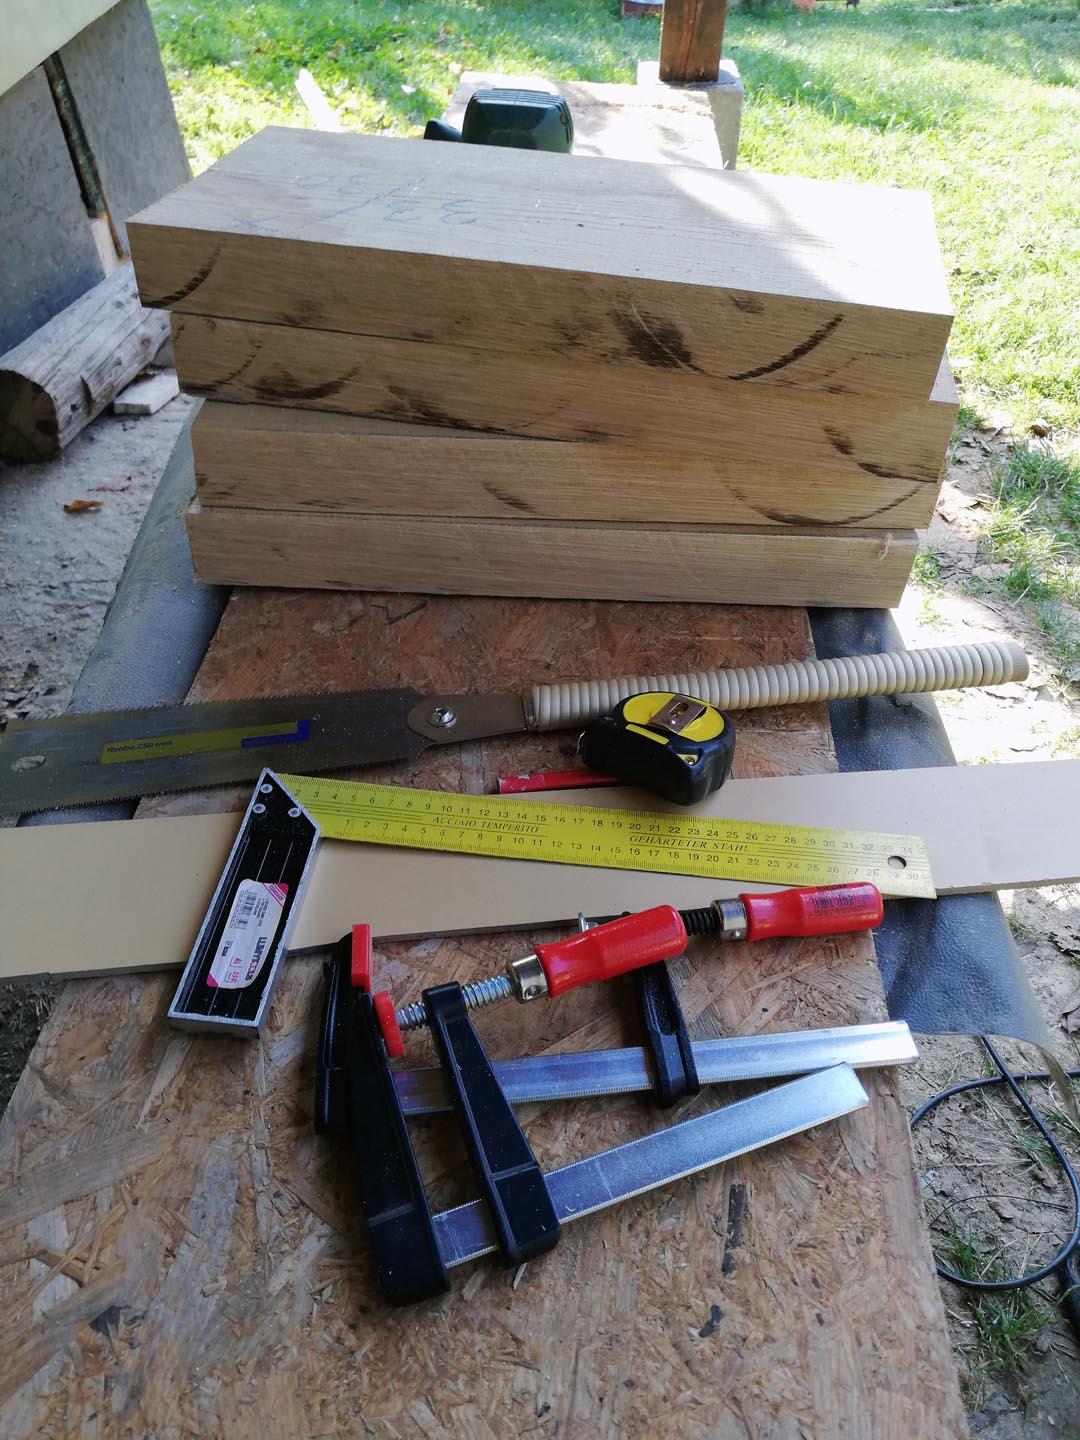
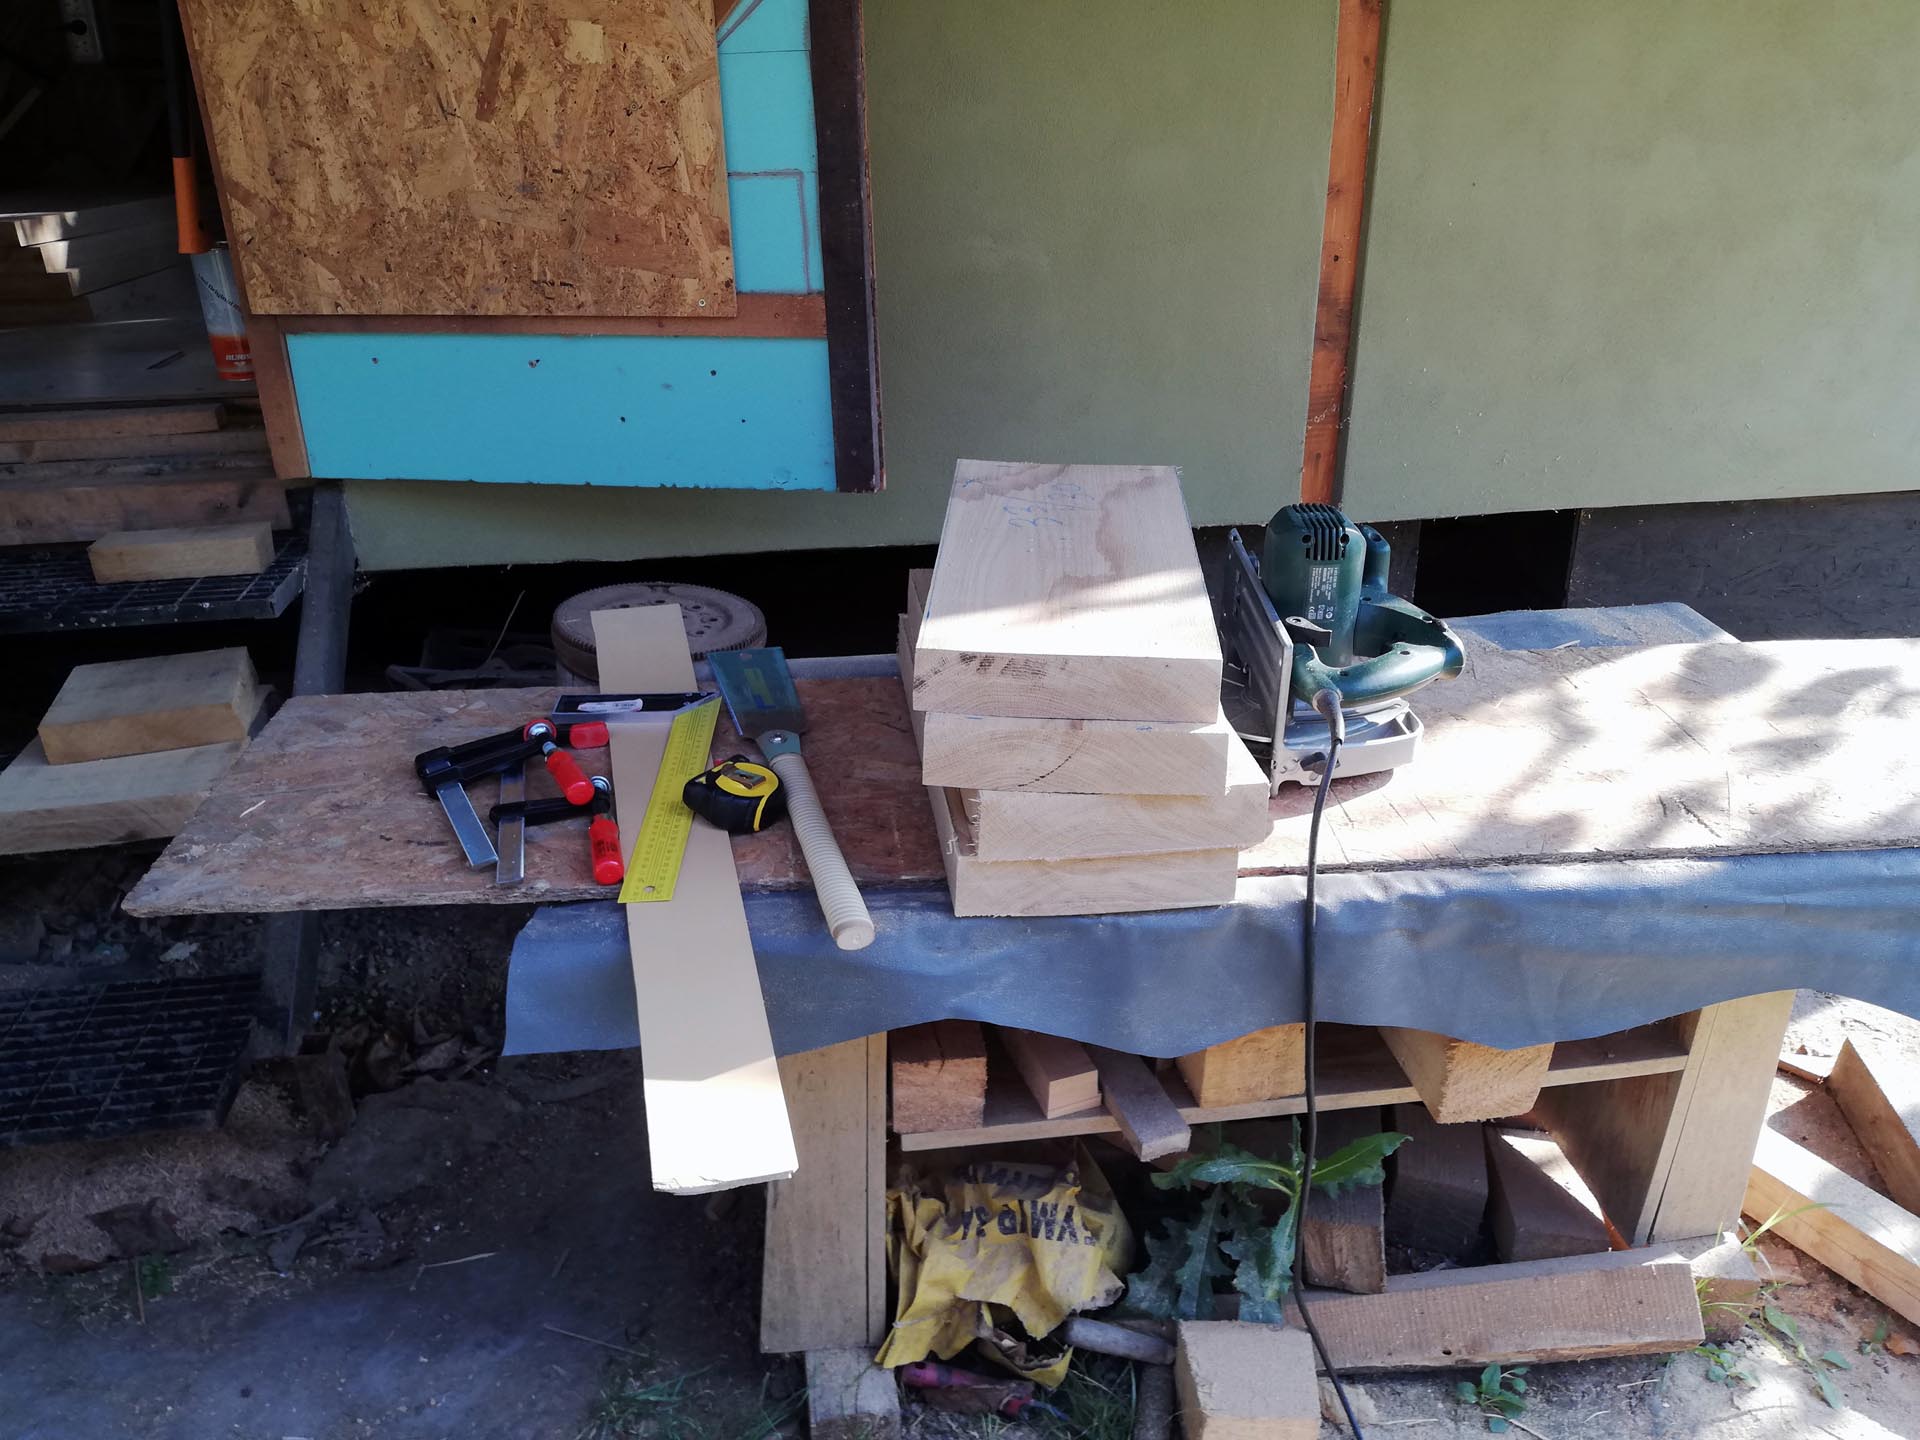
So, basically, it is a very long piece/tabletop 8x0.5m, 5cm thick, lots of milling, accurate cuts, gluing, and assembly attention involved. After I purchased the massive planks and started milling, I realized I badly needed a specific tool to make the cuts and ended up making a very good long-term investment. I bought the Dewalt circular saw, a powerful, accurate tool, and I am proud I made this great choice. Some time ago, I learned that buying expensive tools is actually cheaper than buying cheaper ones. You start with the cheapest, and after it breaks, you purchase another one after giving back the first one. You end up spending about the same amount of money, with loads of stress and much more effort, pressure on the project's deadline, not to mention that with a low-quality tool, injuries can occur more often.
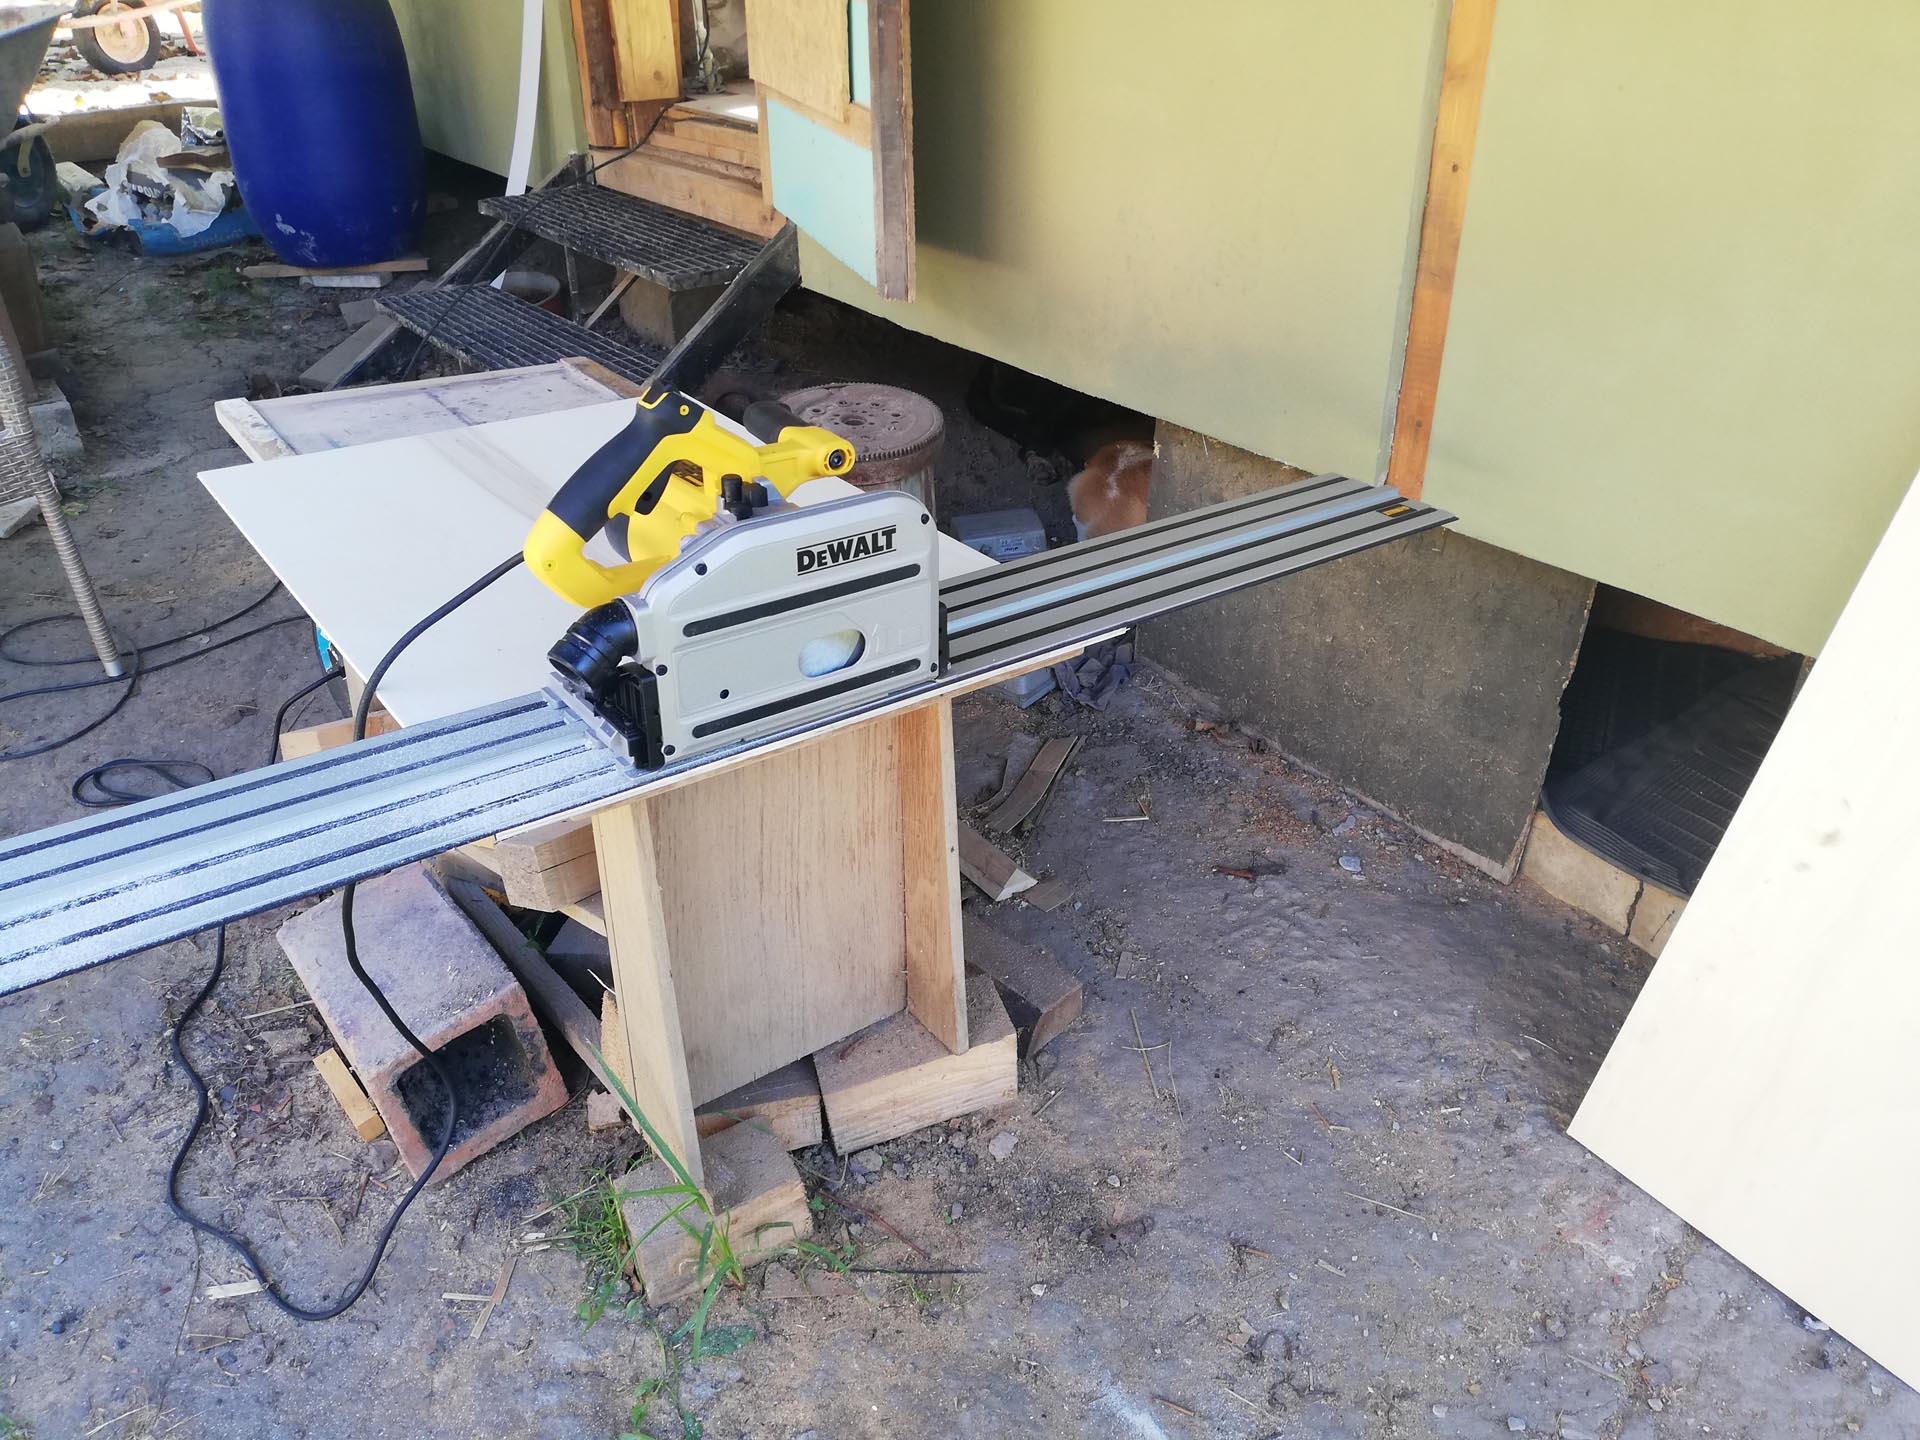
Therefore, I decided to go for Dewalt, being one of the best brands in woodworking tools. You can save some money not having to buy batteries for them every time. Once you have a decent set, you can use it with every cordless tool.
All being set, I kept working on wooden modules, and meanwhile, I started to build the molds for the resin parts. I chose to include two resin parts in the name of asymmetry that my wife loves so much to use in floral compositions. It also creates a certain type of tension which, in fact, often unveils a more natural look to any art composition. It is known that in nature, it is hard to find perfect symmetry. Our faces, for example, are very asymmetrical, and artists use this to create the natural balance since the Renaissance, and one of the good books about it is Rudolph Arnheim’s Art and Visual Perception.
We would look weird if we were perfectly symmetrical, and anybody with beginner skills in a graphic program can try it out. Just take a front selfie, select half of the face, duplicate it, and mirror it! You’ll see… and I'm actually very curious about your opinion on that.
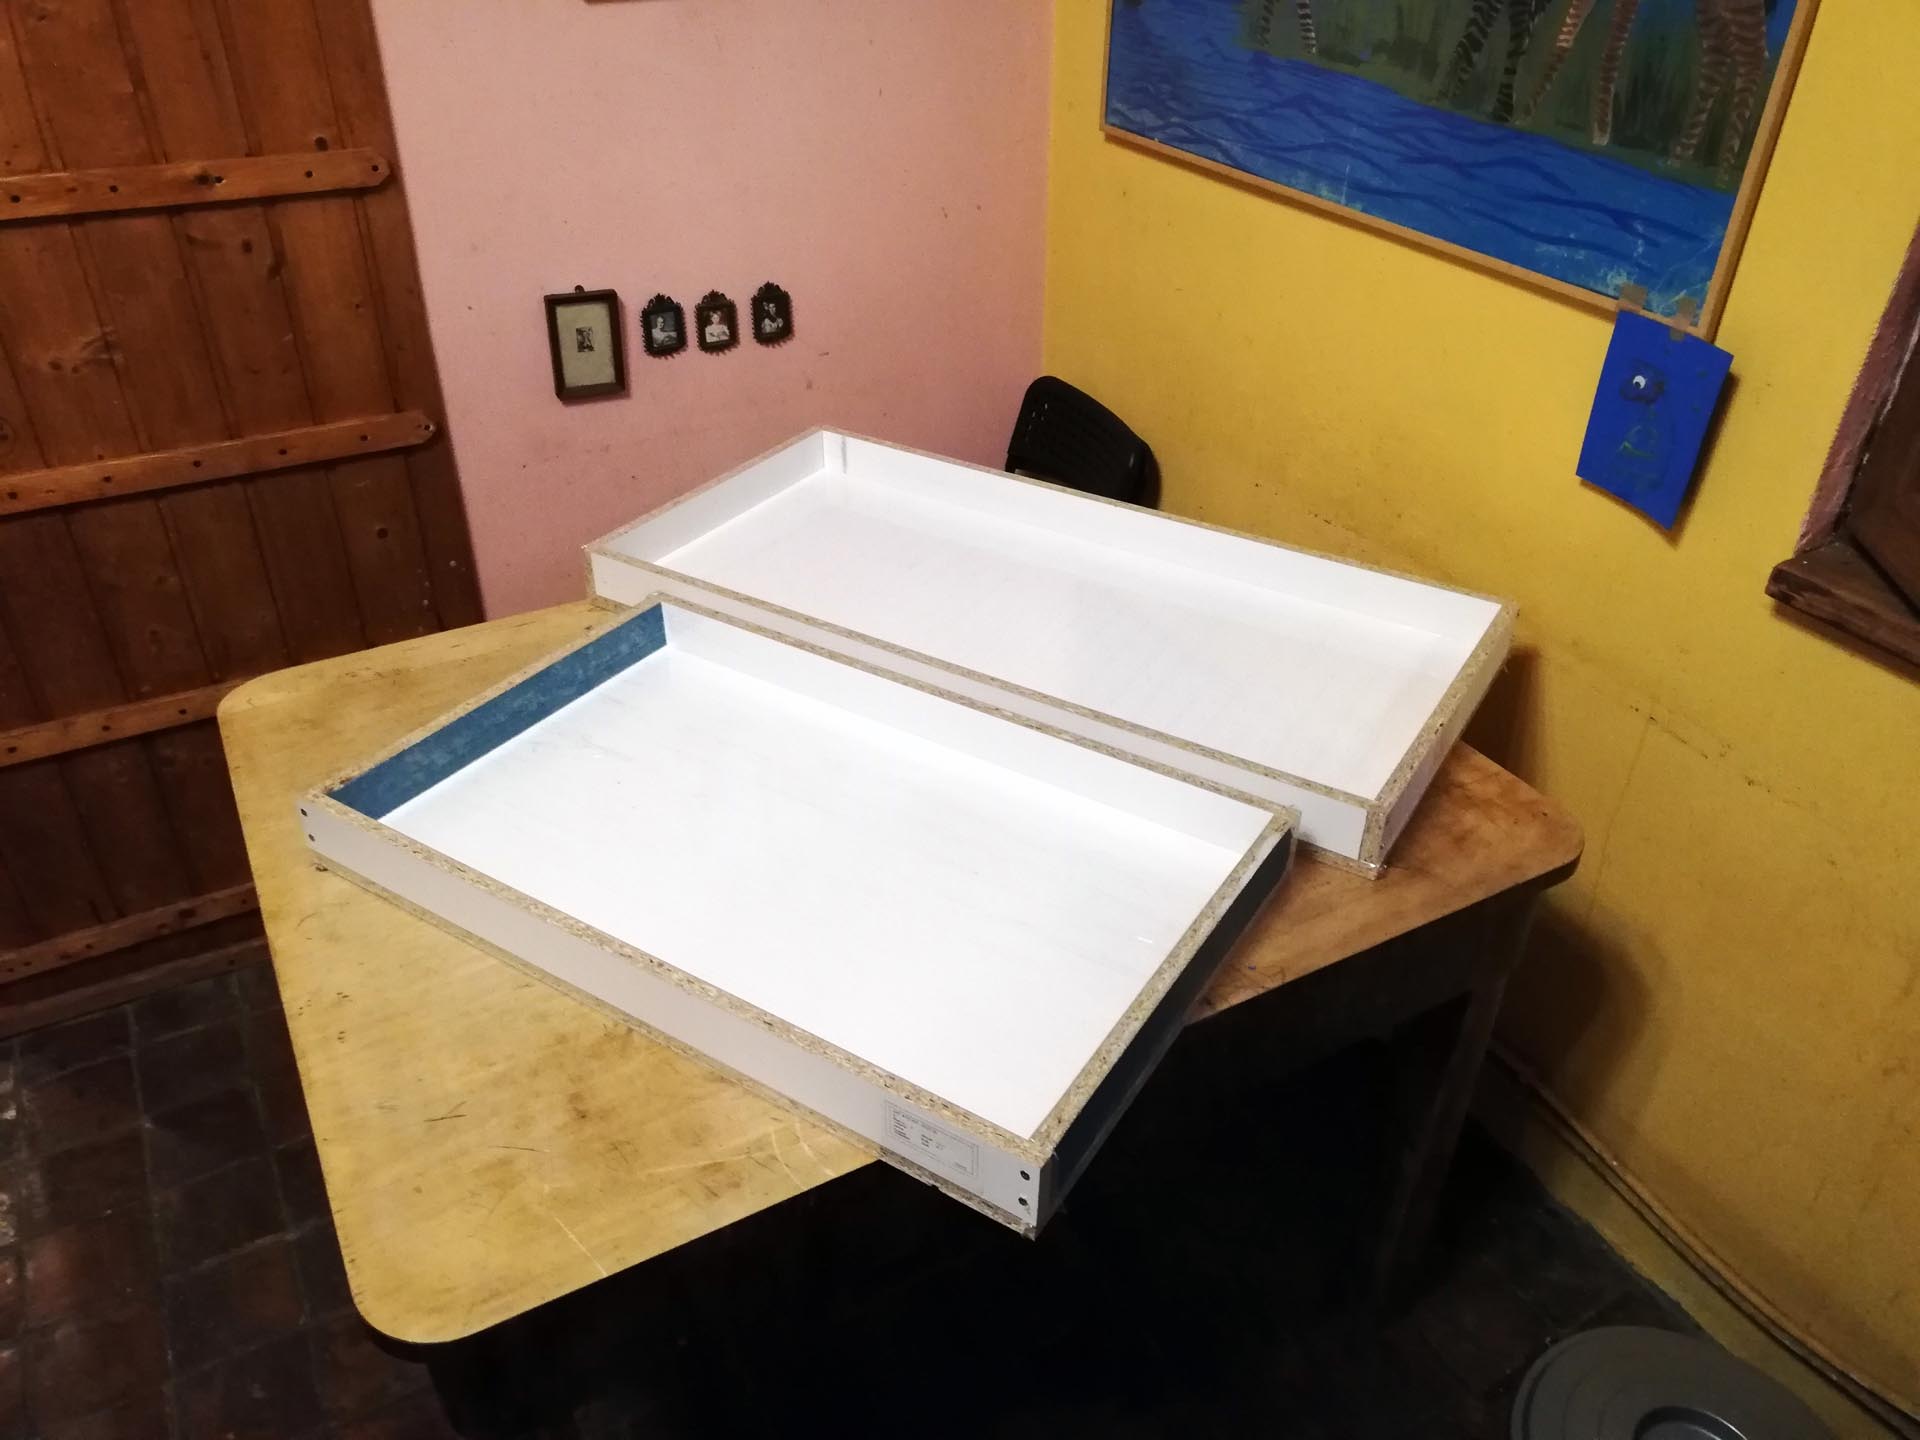
The mold is basically a box in the desired dimension, and its only characteristic should be well-sealed corners, as the main characteristic of resin is that it flows... and flows... for hours... and it will find its way through any gap it finds. You'll find it the next day on the table, workbench, floor, everywhere. So, I suggest taking your time to seal the mold. Once I was sure it was okay (by the way, you can never be 100% sure about that), I was brave enough to determine the kitchen as the pouring studio, as my wife and girls were on vacation for a week.
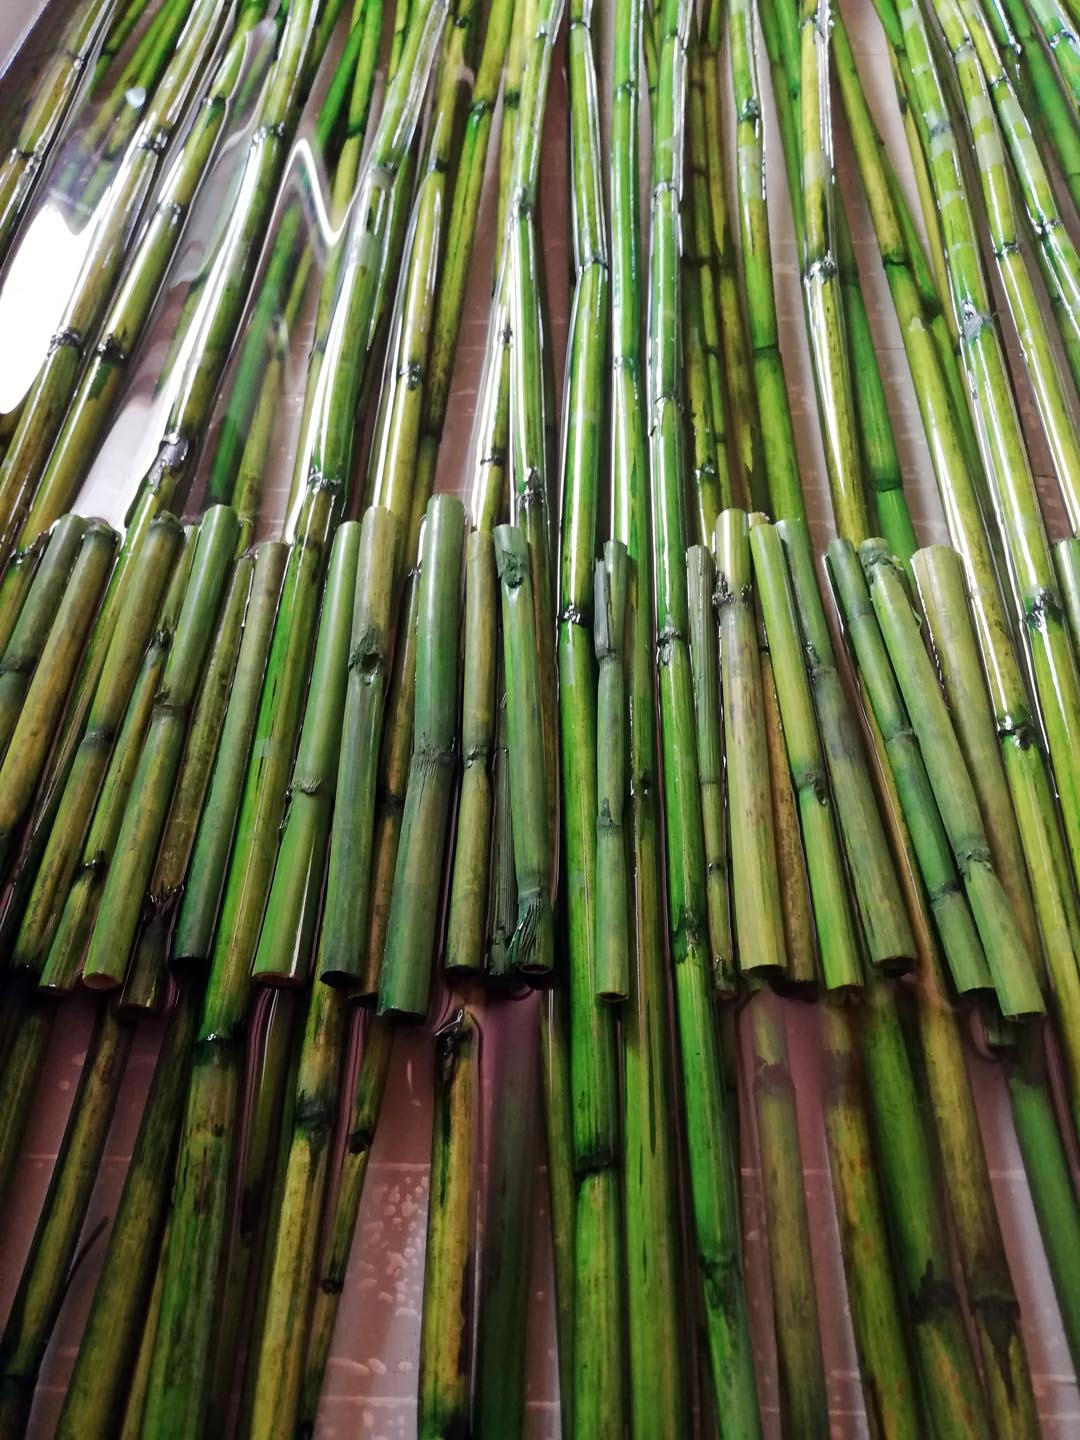
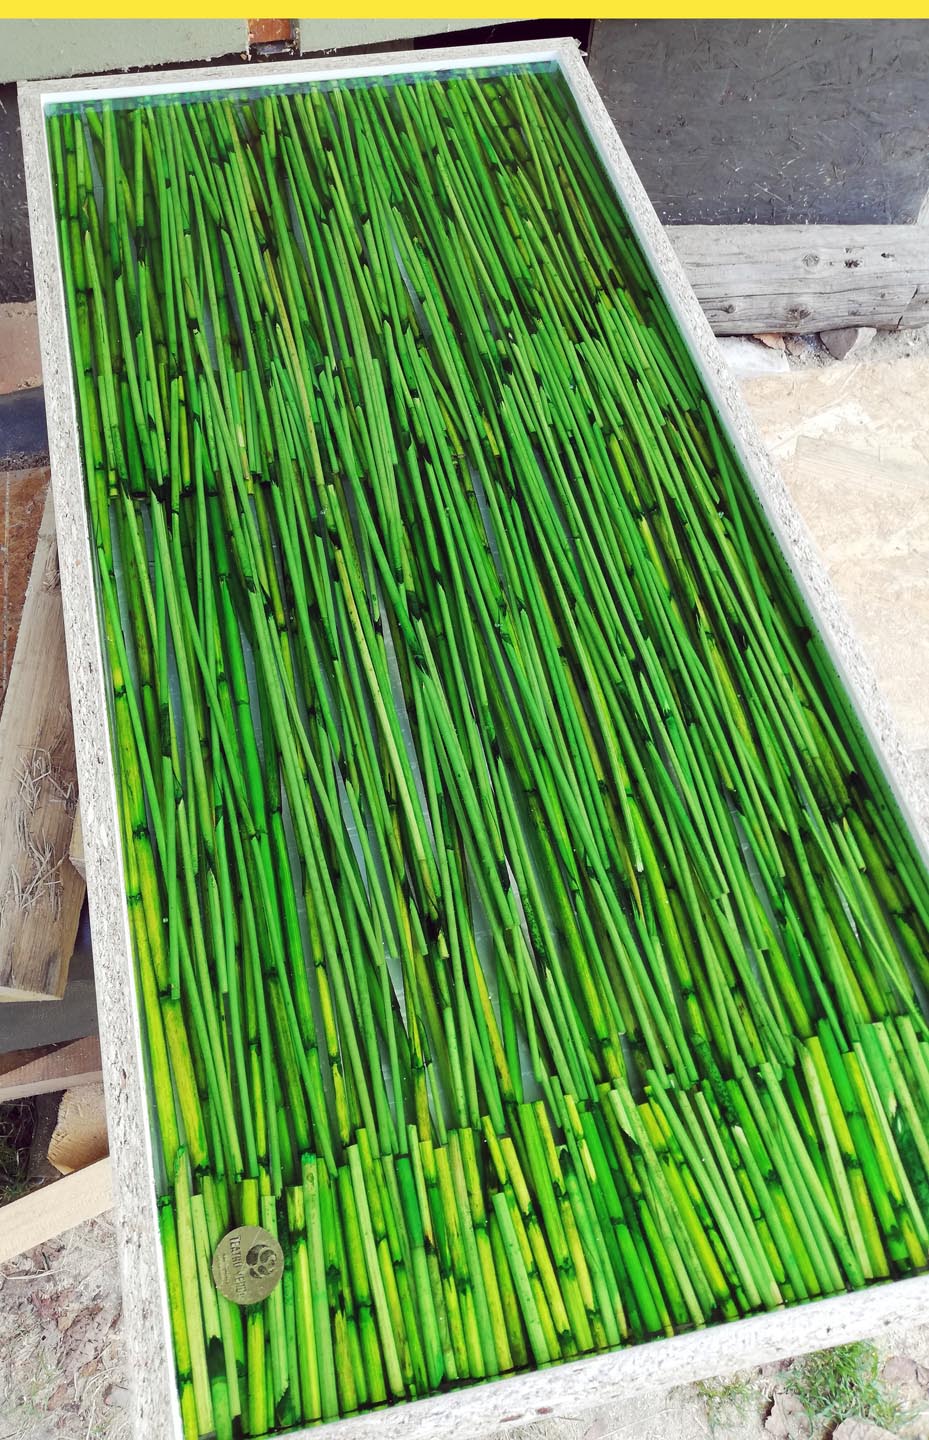
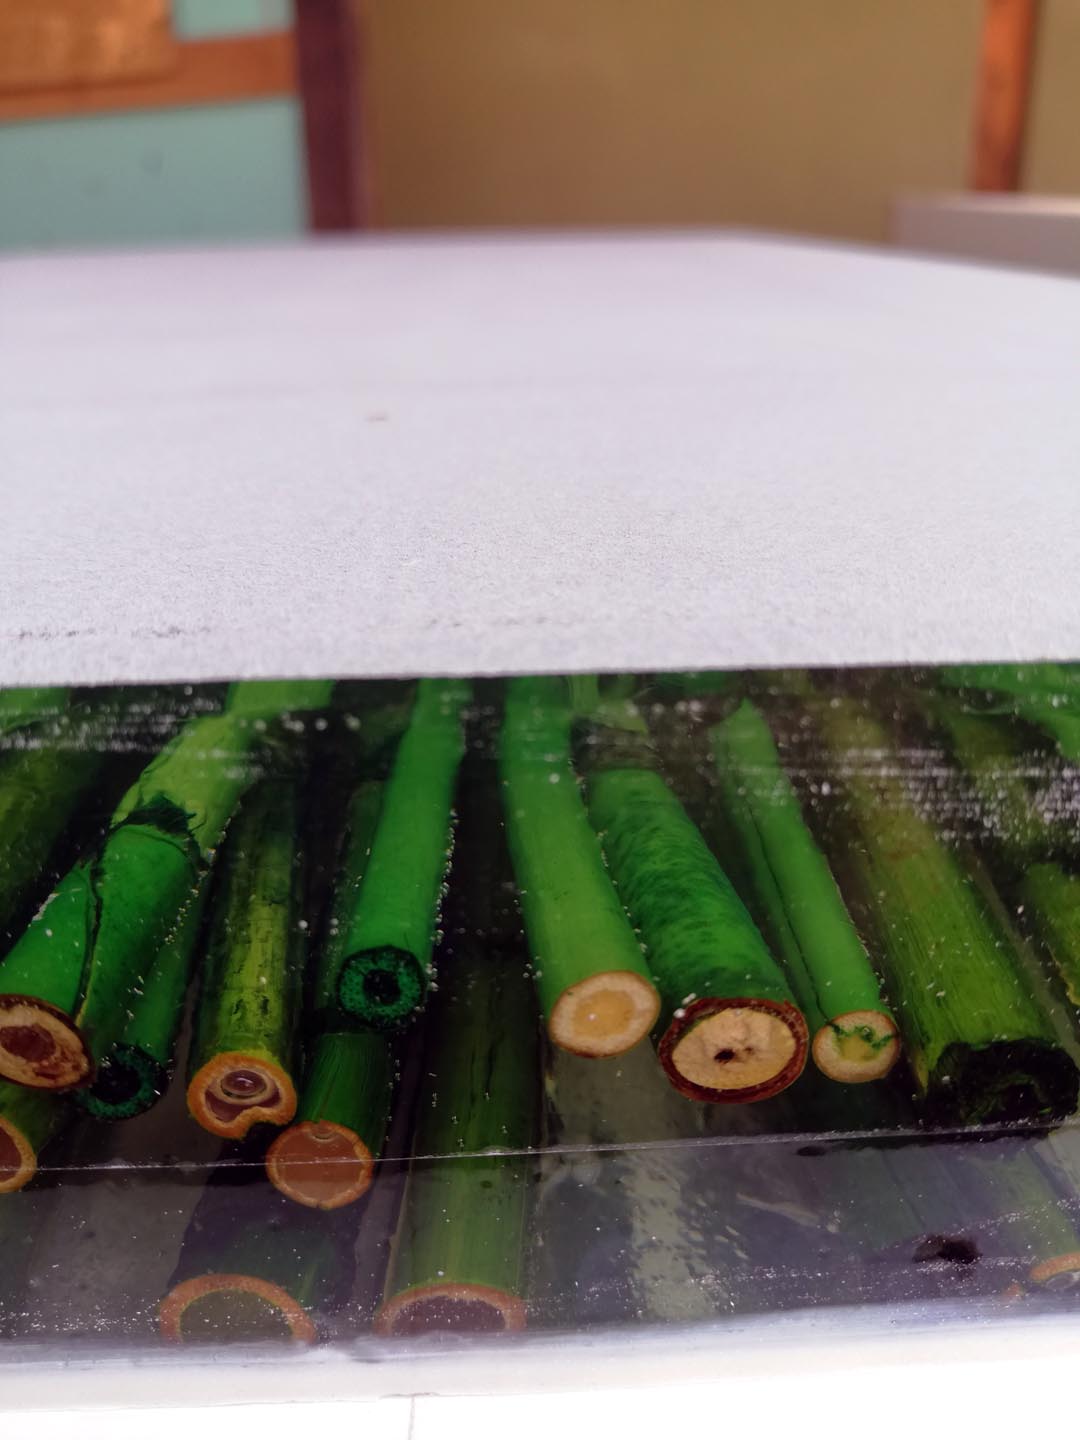
I started cutting the bamboo stripes to the density I wanted, and this was the first step.

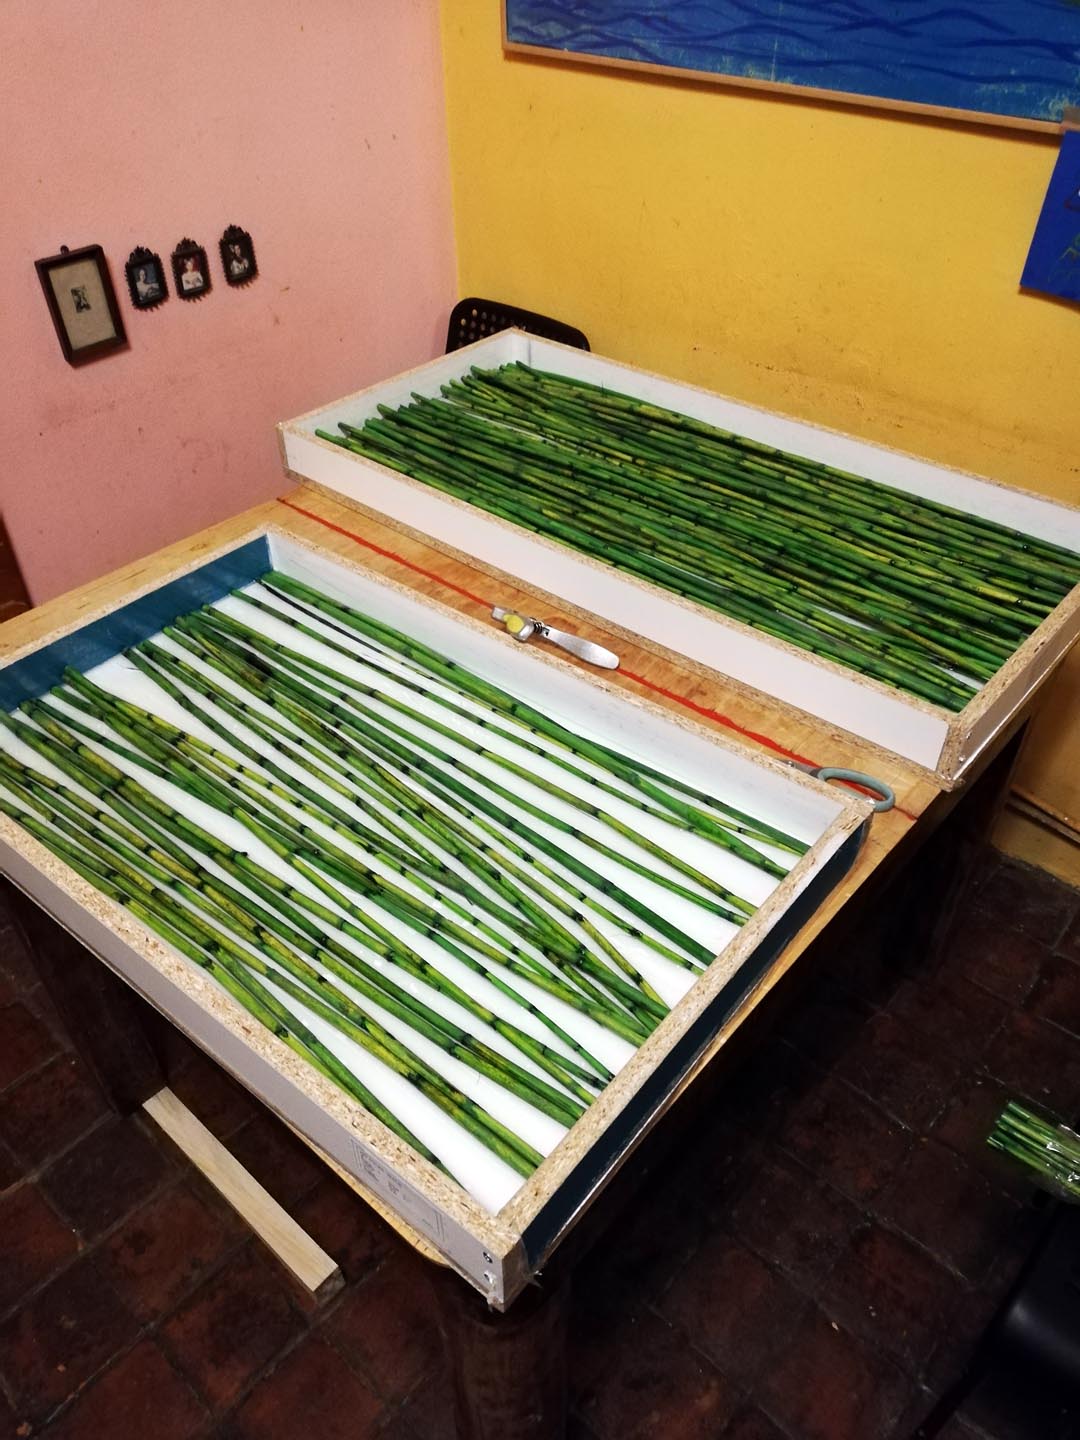
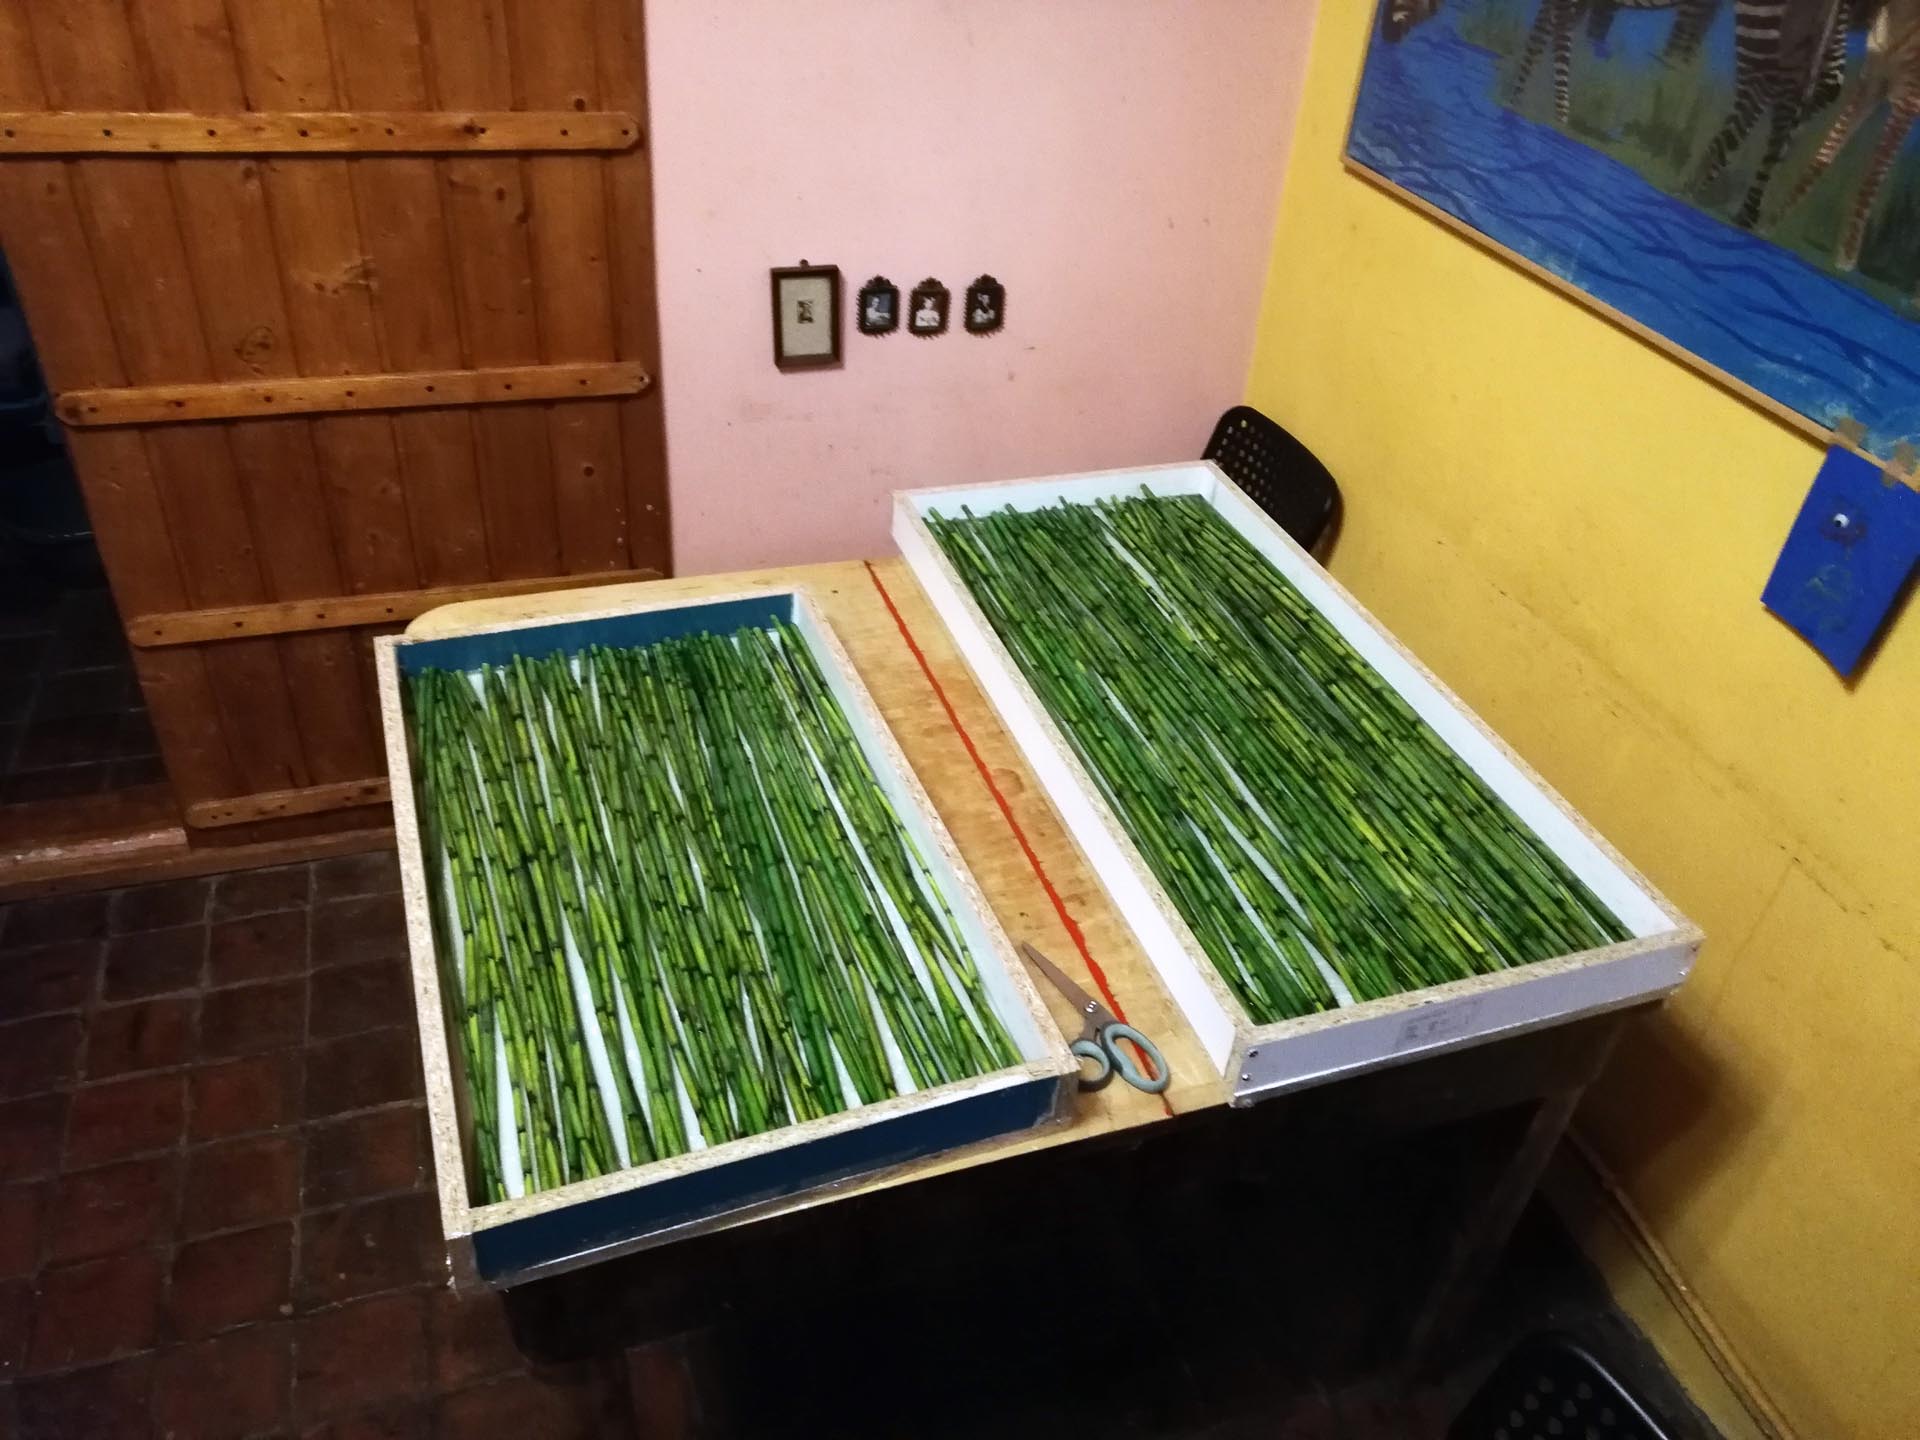
The second was to pour resin, the amount of resin just to fix this layer. The tabletop is 4cm thick, so I had to take this into consideration in order to do what I did. I wanted to add a second layer of shorter bamboo, like a green strip over the green background, creating a contrast of quality, as Johannes Itten defines it. He was a painter, teacher, and designer at the Bauhaus school, one of the first who gathered an admirable amount of information and presented it scientifically in the form of the Theory of Colors. Between the seven types of contrast, I always liked the simultaneous one and the quality one. They are more subtle and create a kind of monochromatic general appearance, and at a closer look, you can discover the chromatic richness. It is very well depicted in Art Nouveau imagery, especially in Gustav Klimt’s paintings.

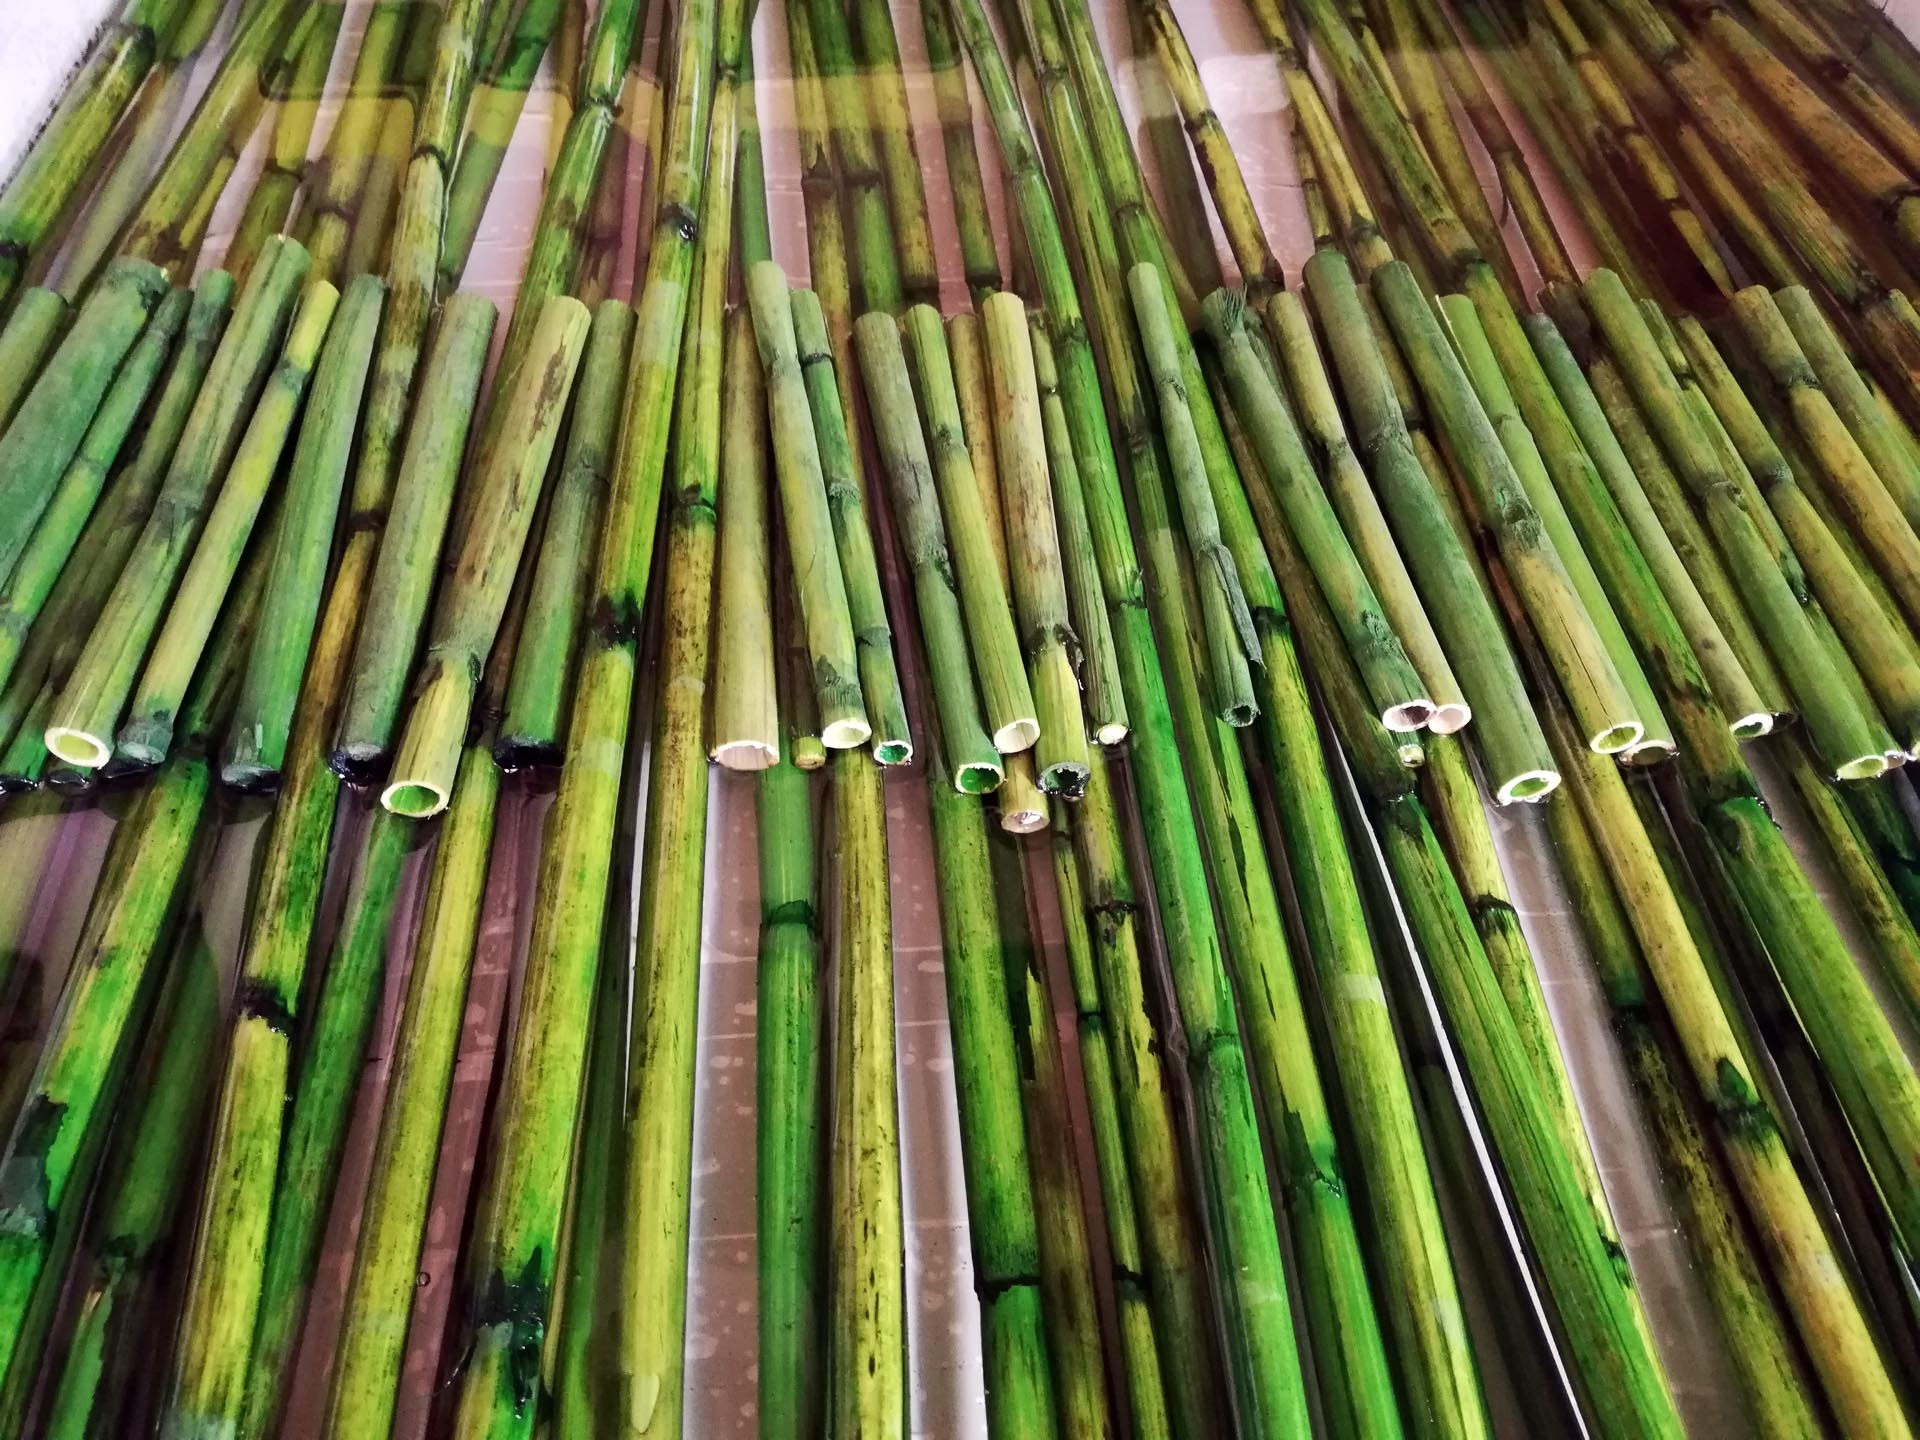

That being said, I waited 24 hours for the first layer to dry, then I placed the second layer of shorter sticks. The important thing is the weight of materials, as I discovered in a past project (not without smiling) that the resin is heavier than bamboo, therefore bamboo sticks are floating. So, you can glue them or just pour thin layers of resin to cast what you need. If there are several layers of materials, you can do it step by step, which takes a lot of time, of course, but is safer. Gluing them wasn't an option for me, as I couldn't find the perfect glue. When I tried, some sticks stayed still, but others started to rise and float, and that’s funny, but not in that specific moment... you struggle to fix those rebel elements. I found that time-consuming and much more difficult in the end. I know there are a lot of details, but some of them are really important and can ruin your project. Nobody likes that, especially when it comes to epoxy resin, which is not cheap. If there is a mold you have to re-do, and all of that... and wasted time. Actually, this is not really correct. That's how you gain experience, and you know all/more aspects of the work you are doing. I always found it very useful to make errors. You can learn from them. The true thing is, you don't want to make those errors in an important/large project. It's better to experiment on a small scale, and once you become more confident, you can take the risks on large scale pieces.
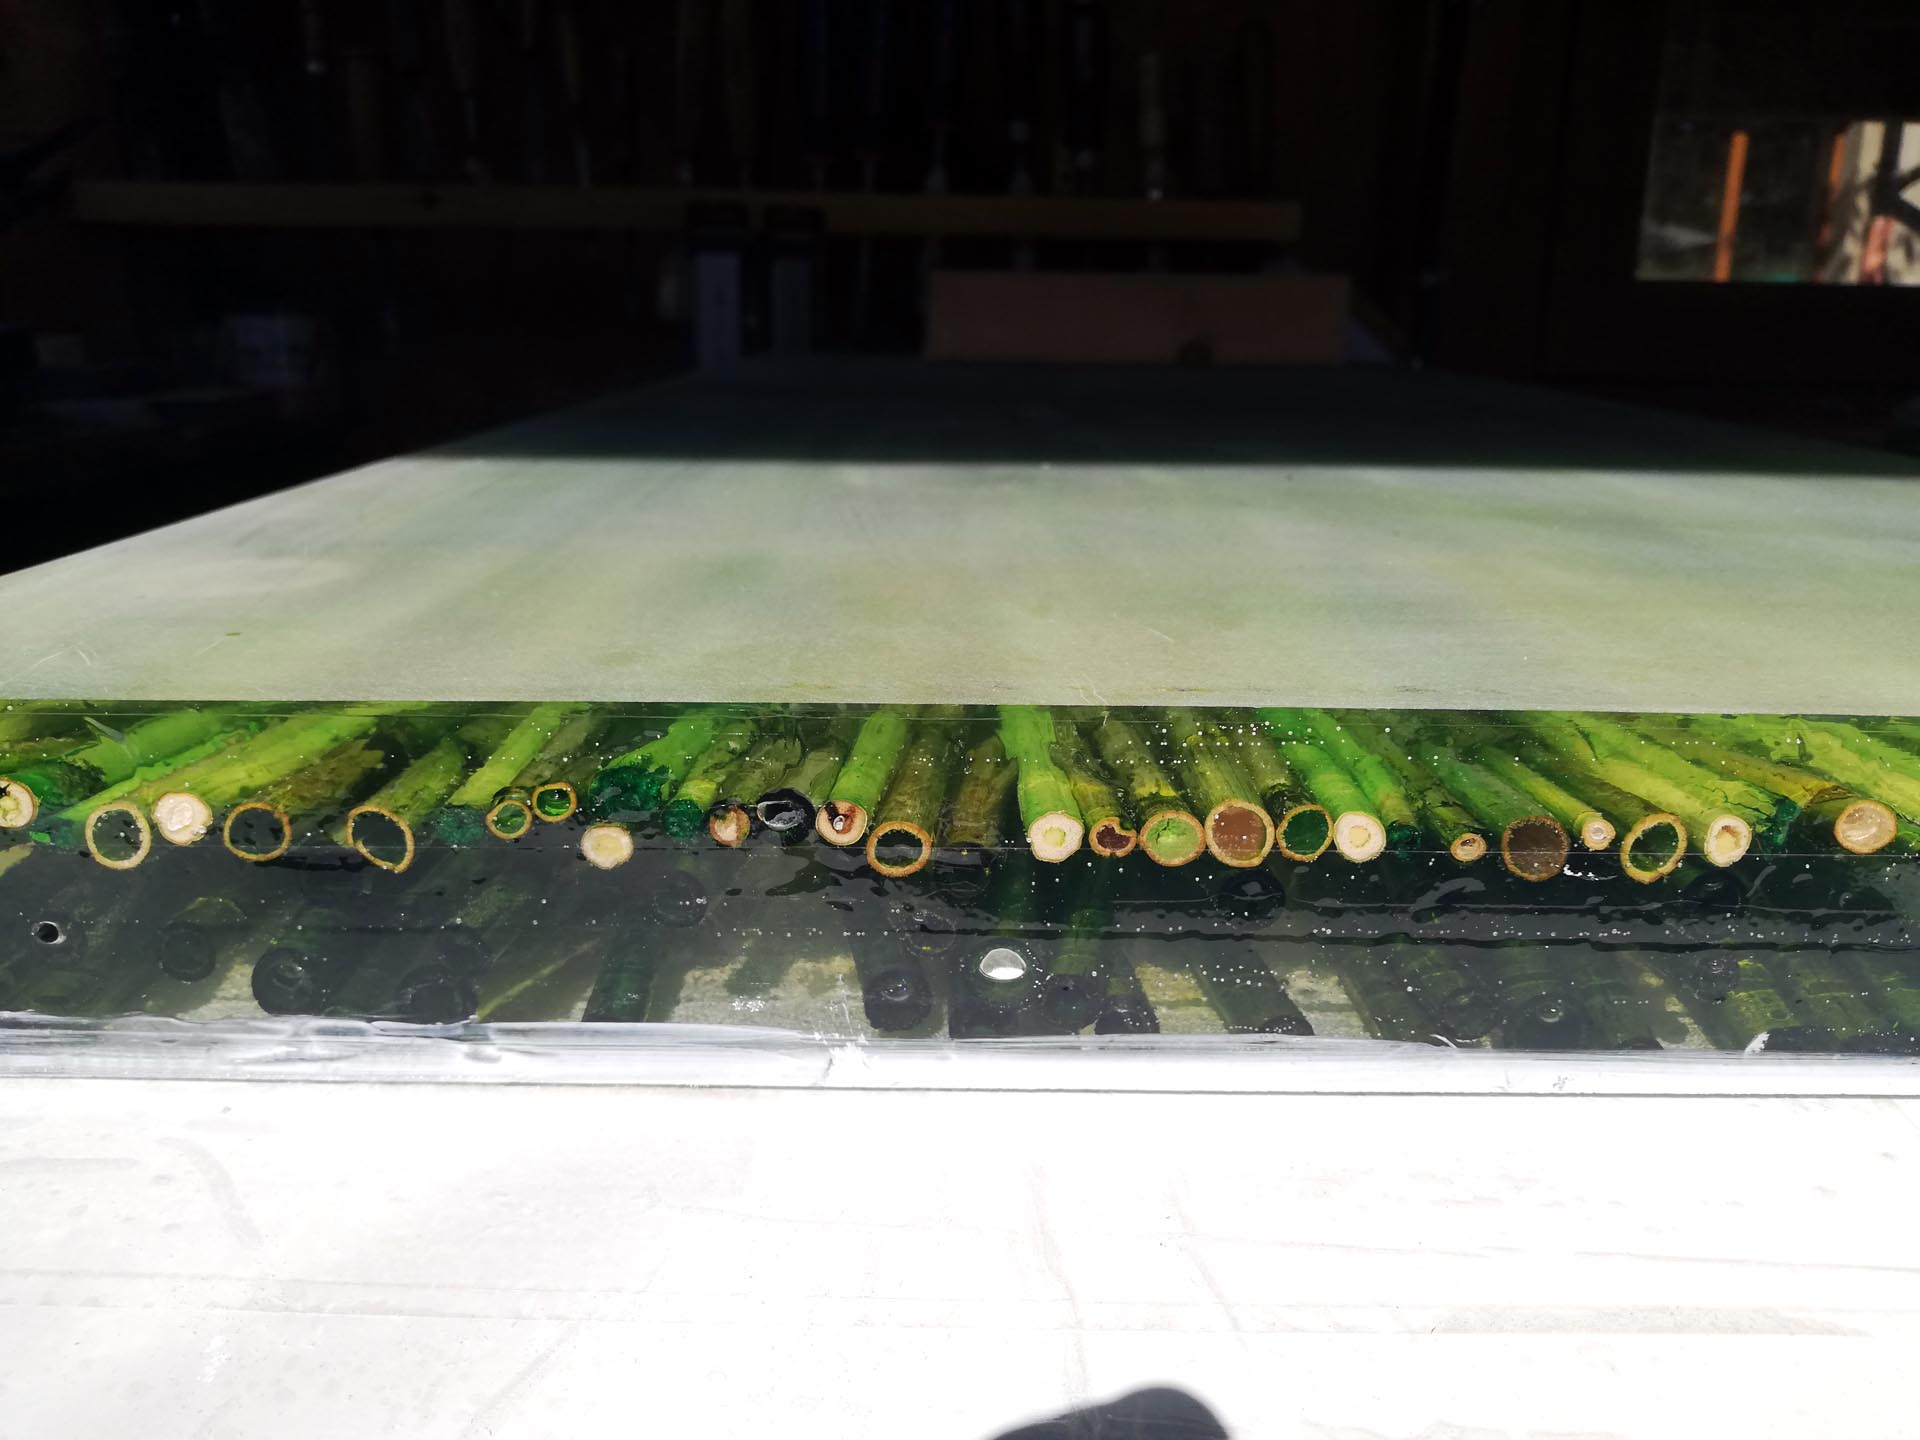
Once the second layer was hard, I poured up to 4 cm (I marked the height on the inside wall of the mold) of the rest of the resin.
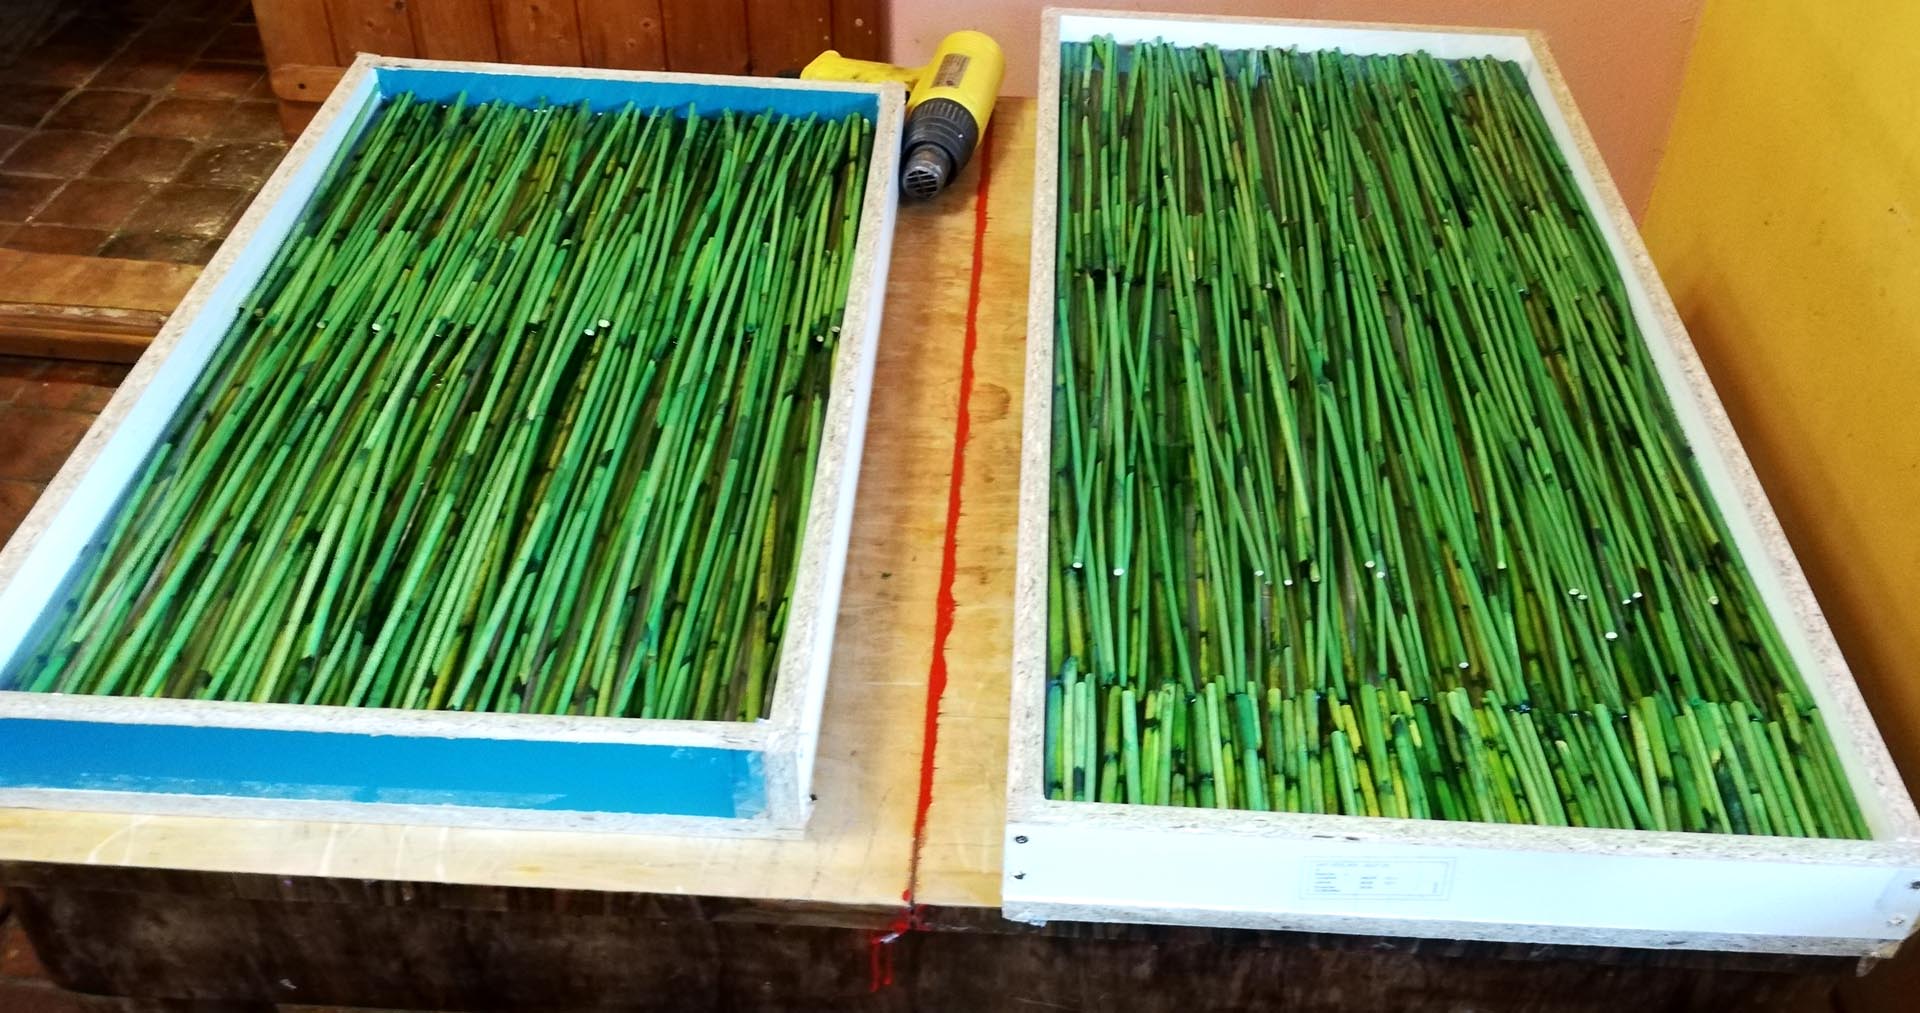
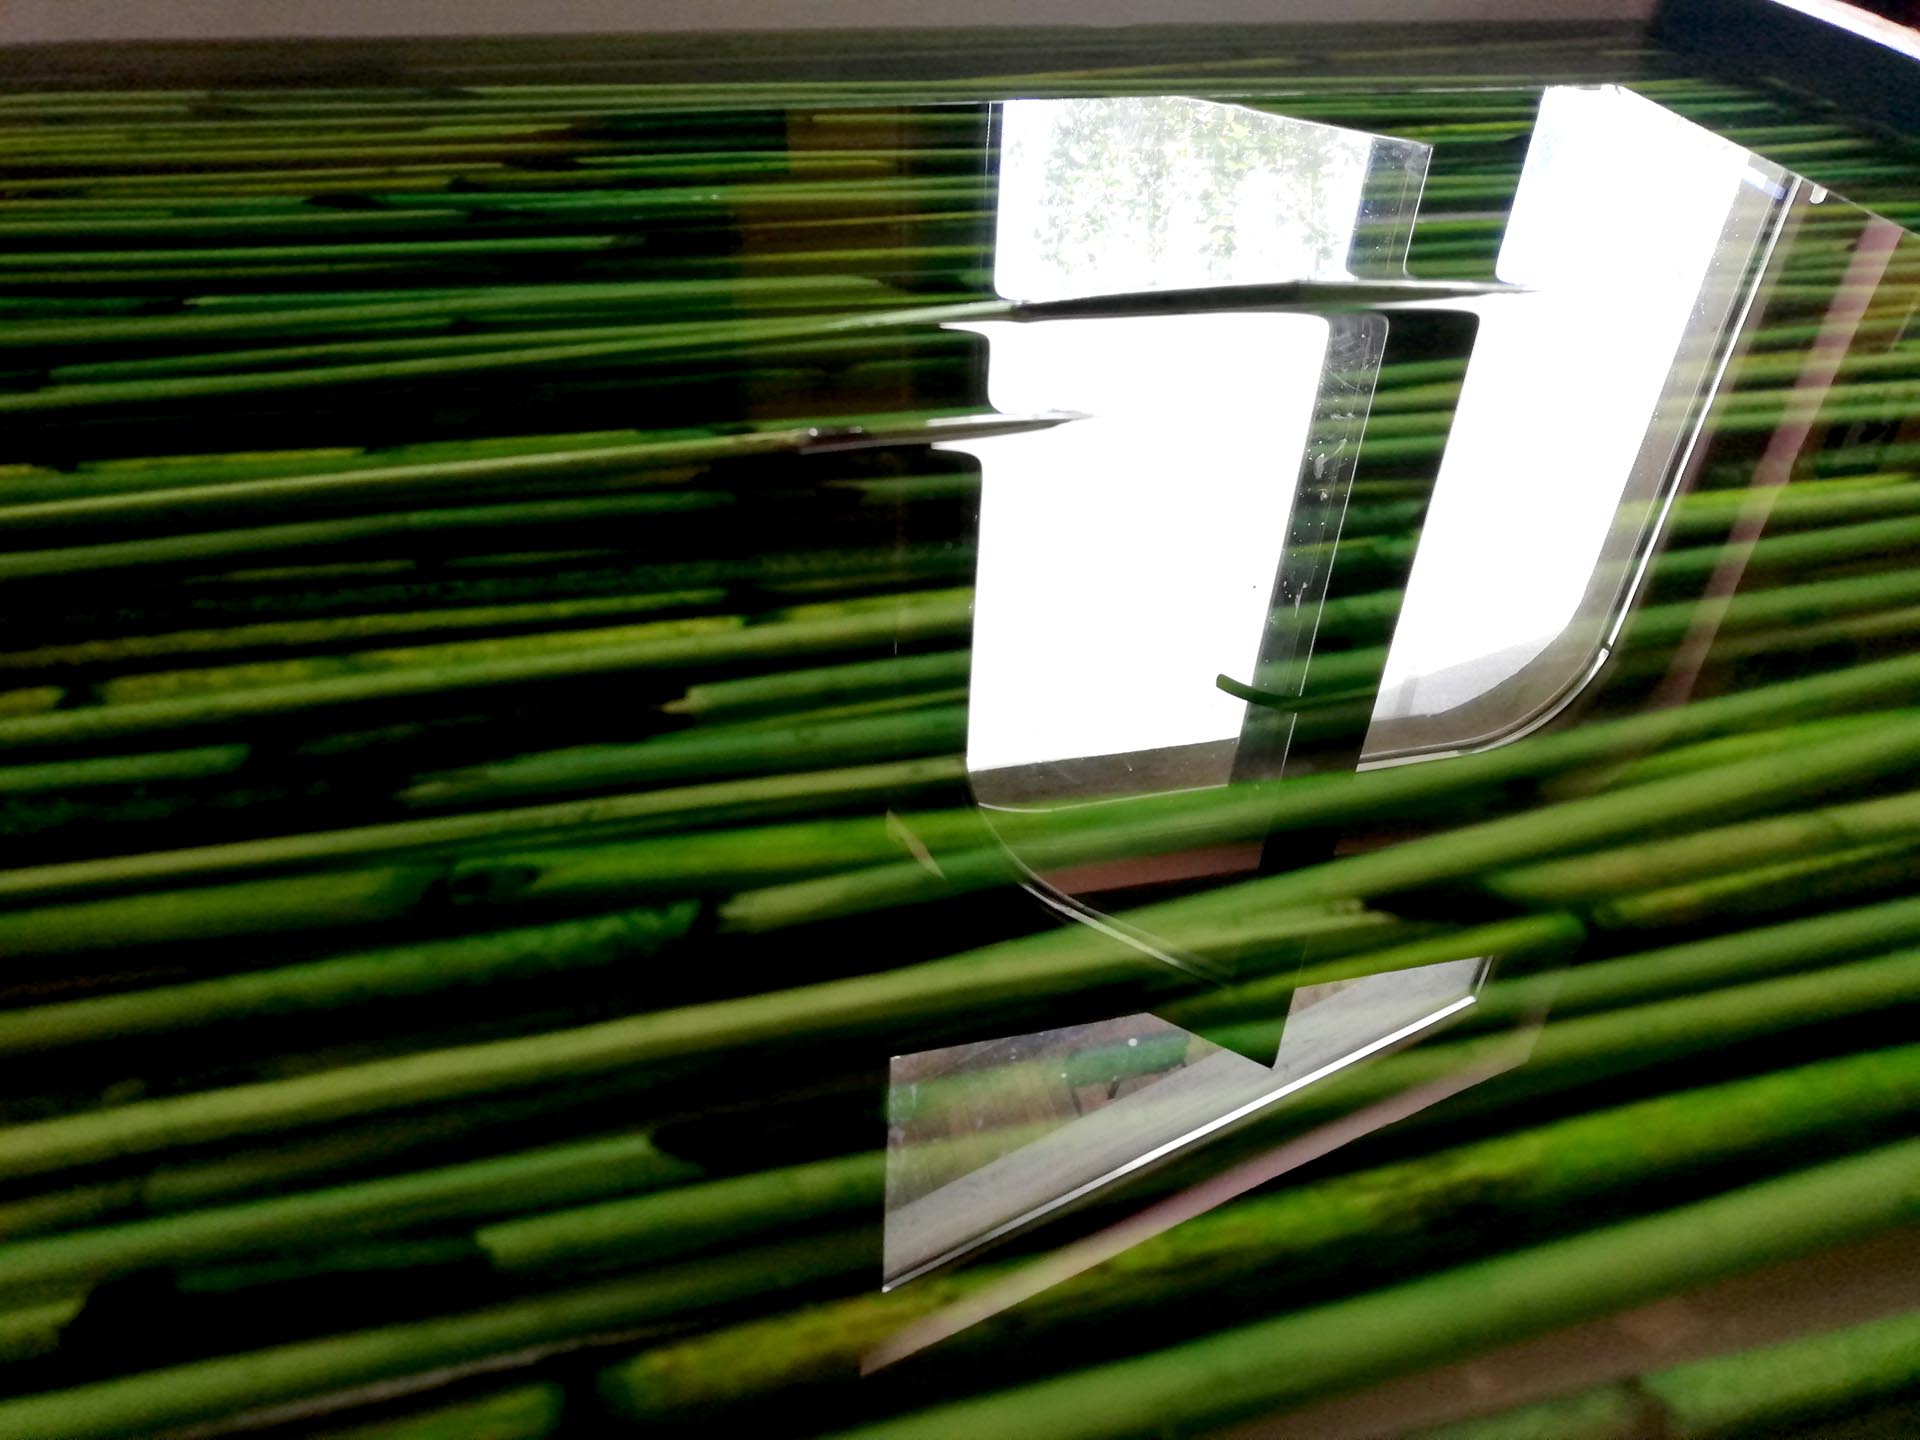
The luster of resin is magical. It's like time has stopped, and everything is silent and still, petrified, caught, cast in resin. I use an industrial dryer to remove the bubbles, and it works great. Afterward, I cover each layer to prevent dust and other particles from settling on the surface. Dust and bugs are the worst enemies. You don't want to have a clear, crystal tabletop with insects glued to the surface.
I decided to let my brass signature sink into the last layer. It came out pretty easily from the mold.
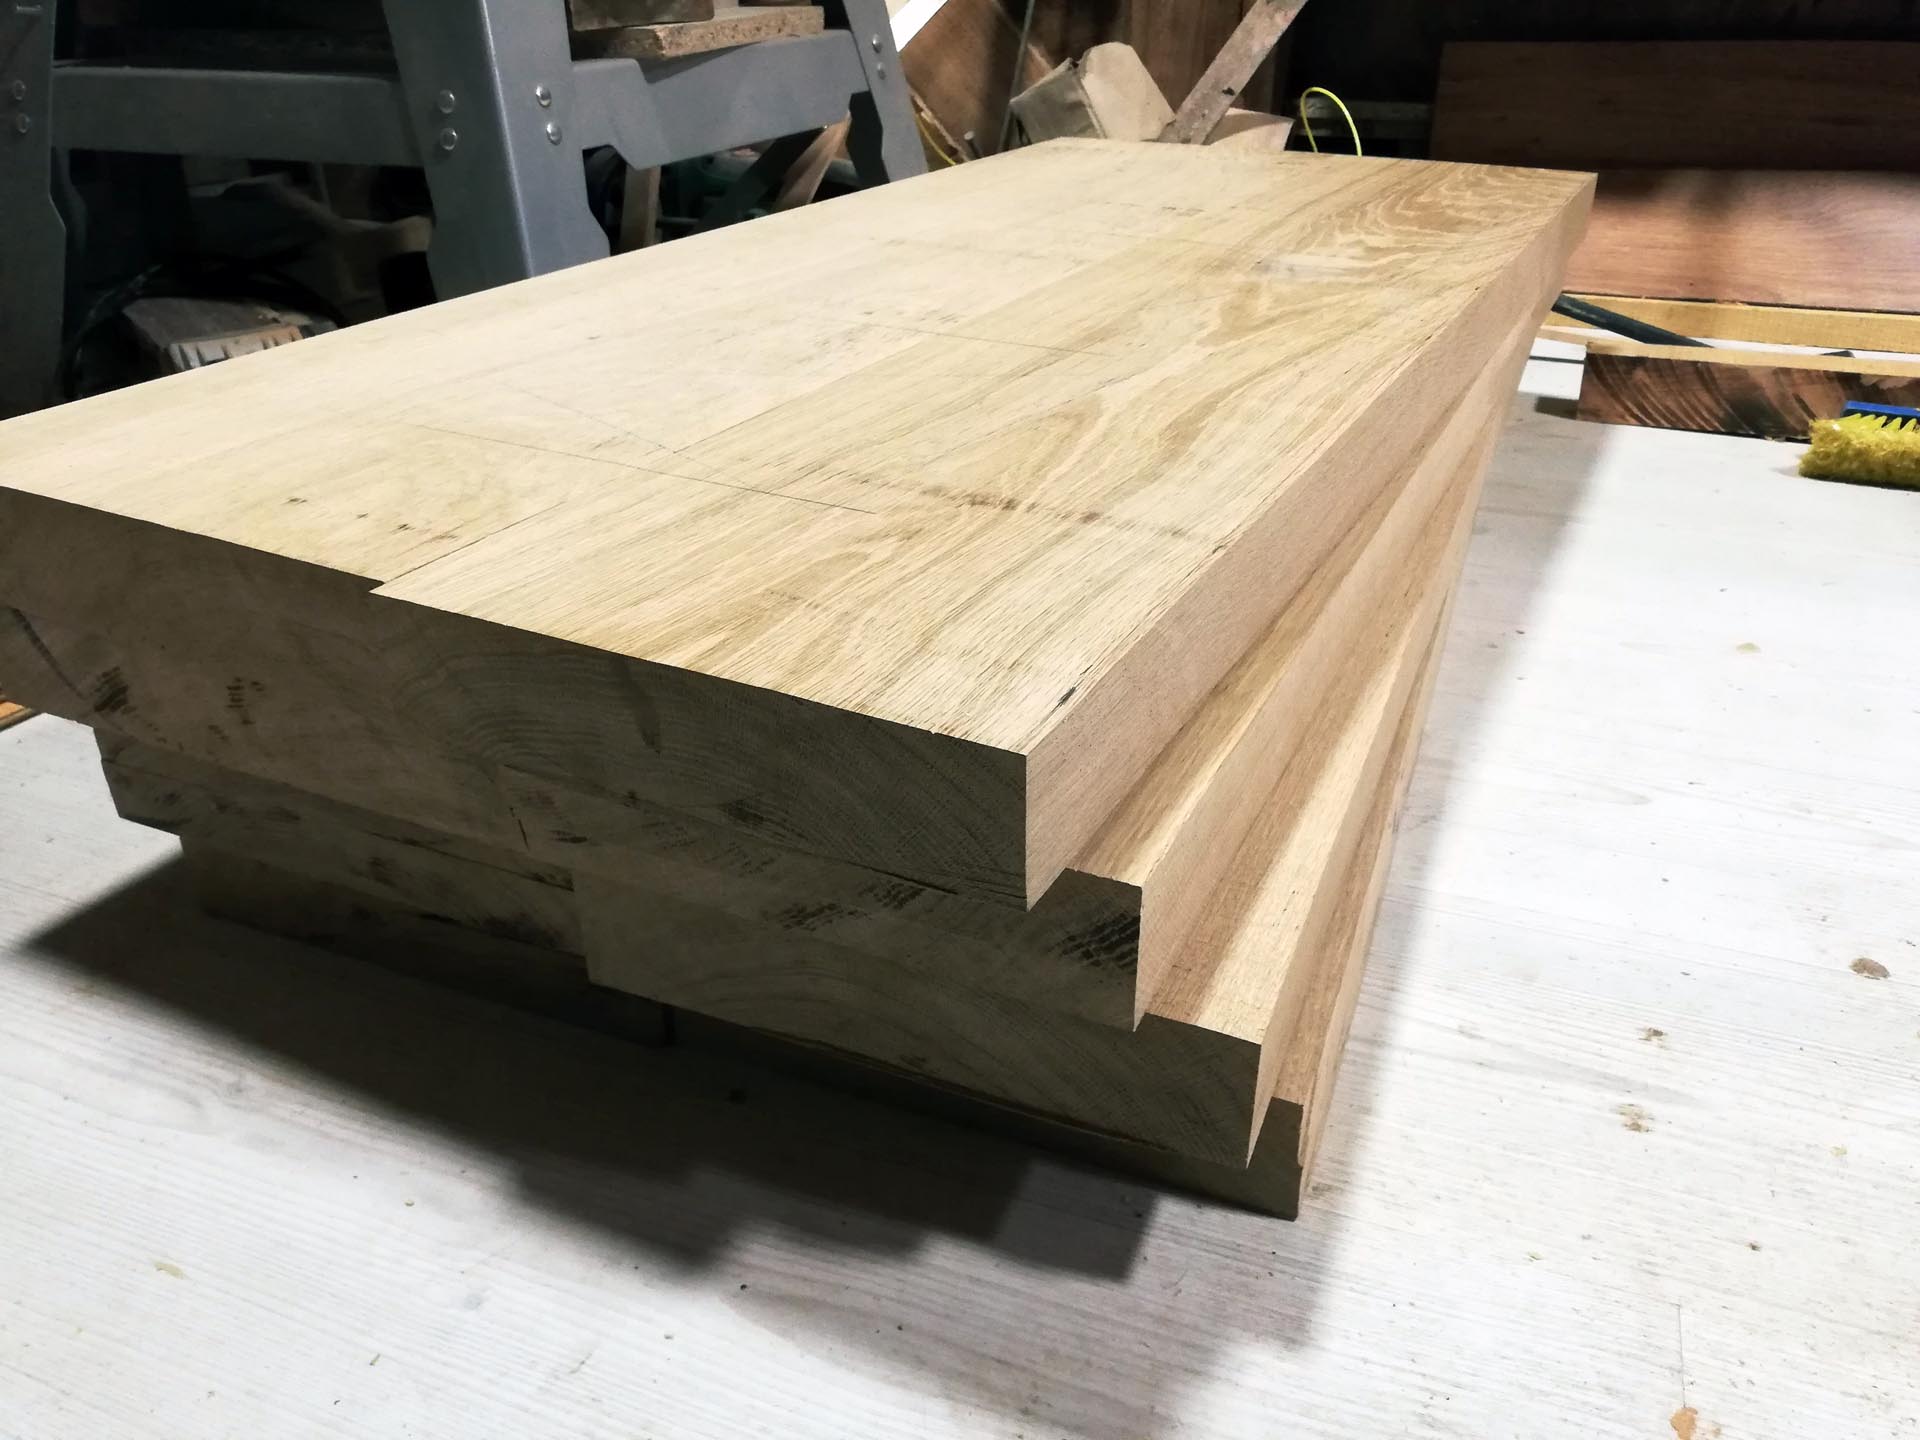
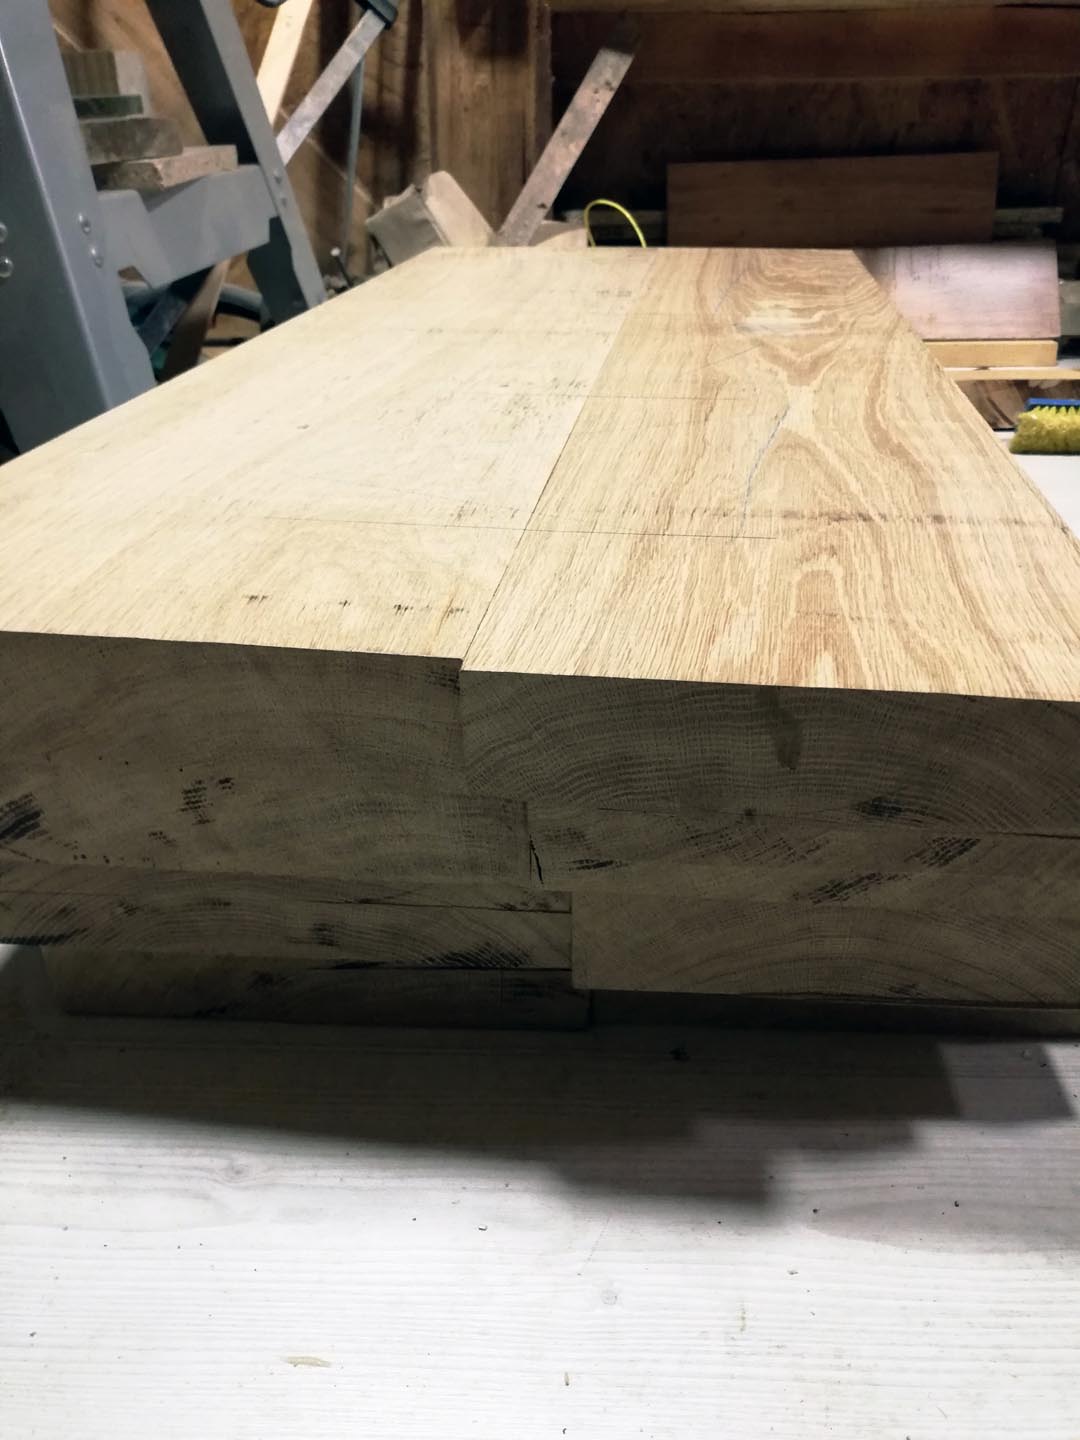
Next, I cut the parts to exact dimensions. This is where, again, I was amazed by my new tool's power and precision.
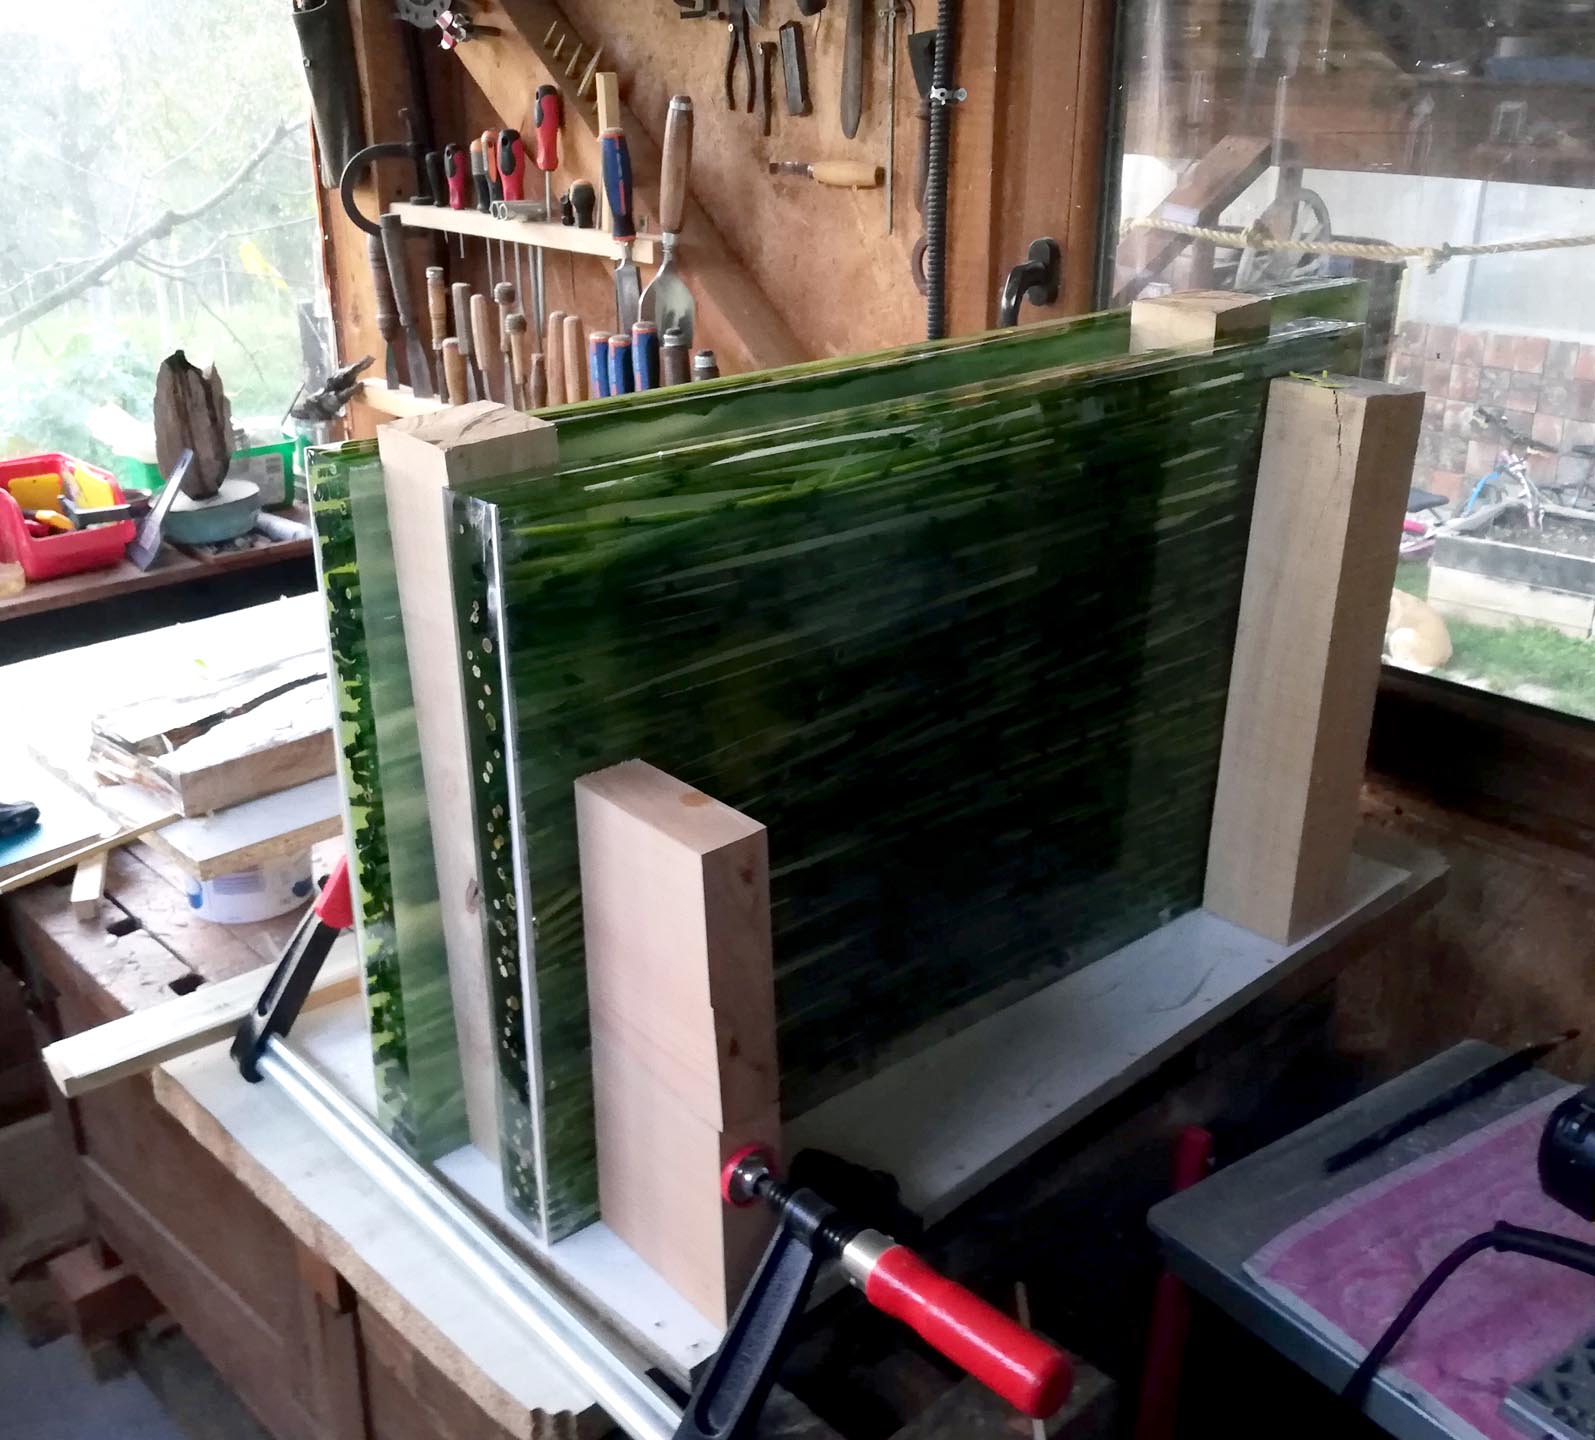
I realized that when I made the longitudinal cuts, the middle of the bamboo was empty. So I needed a bit more resin to finish the visible gaps on the sides. I just fixed the pieces vertically as shown in the picture, and that was it.
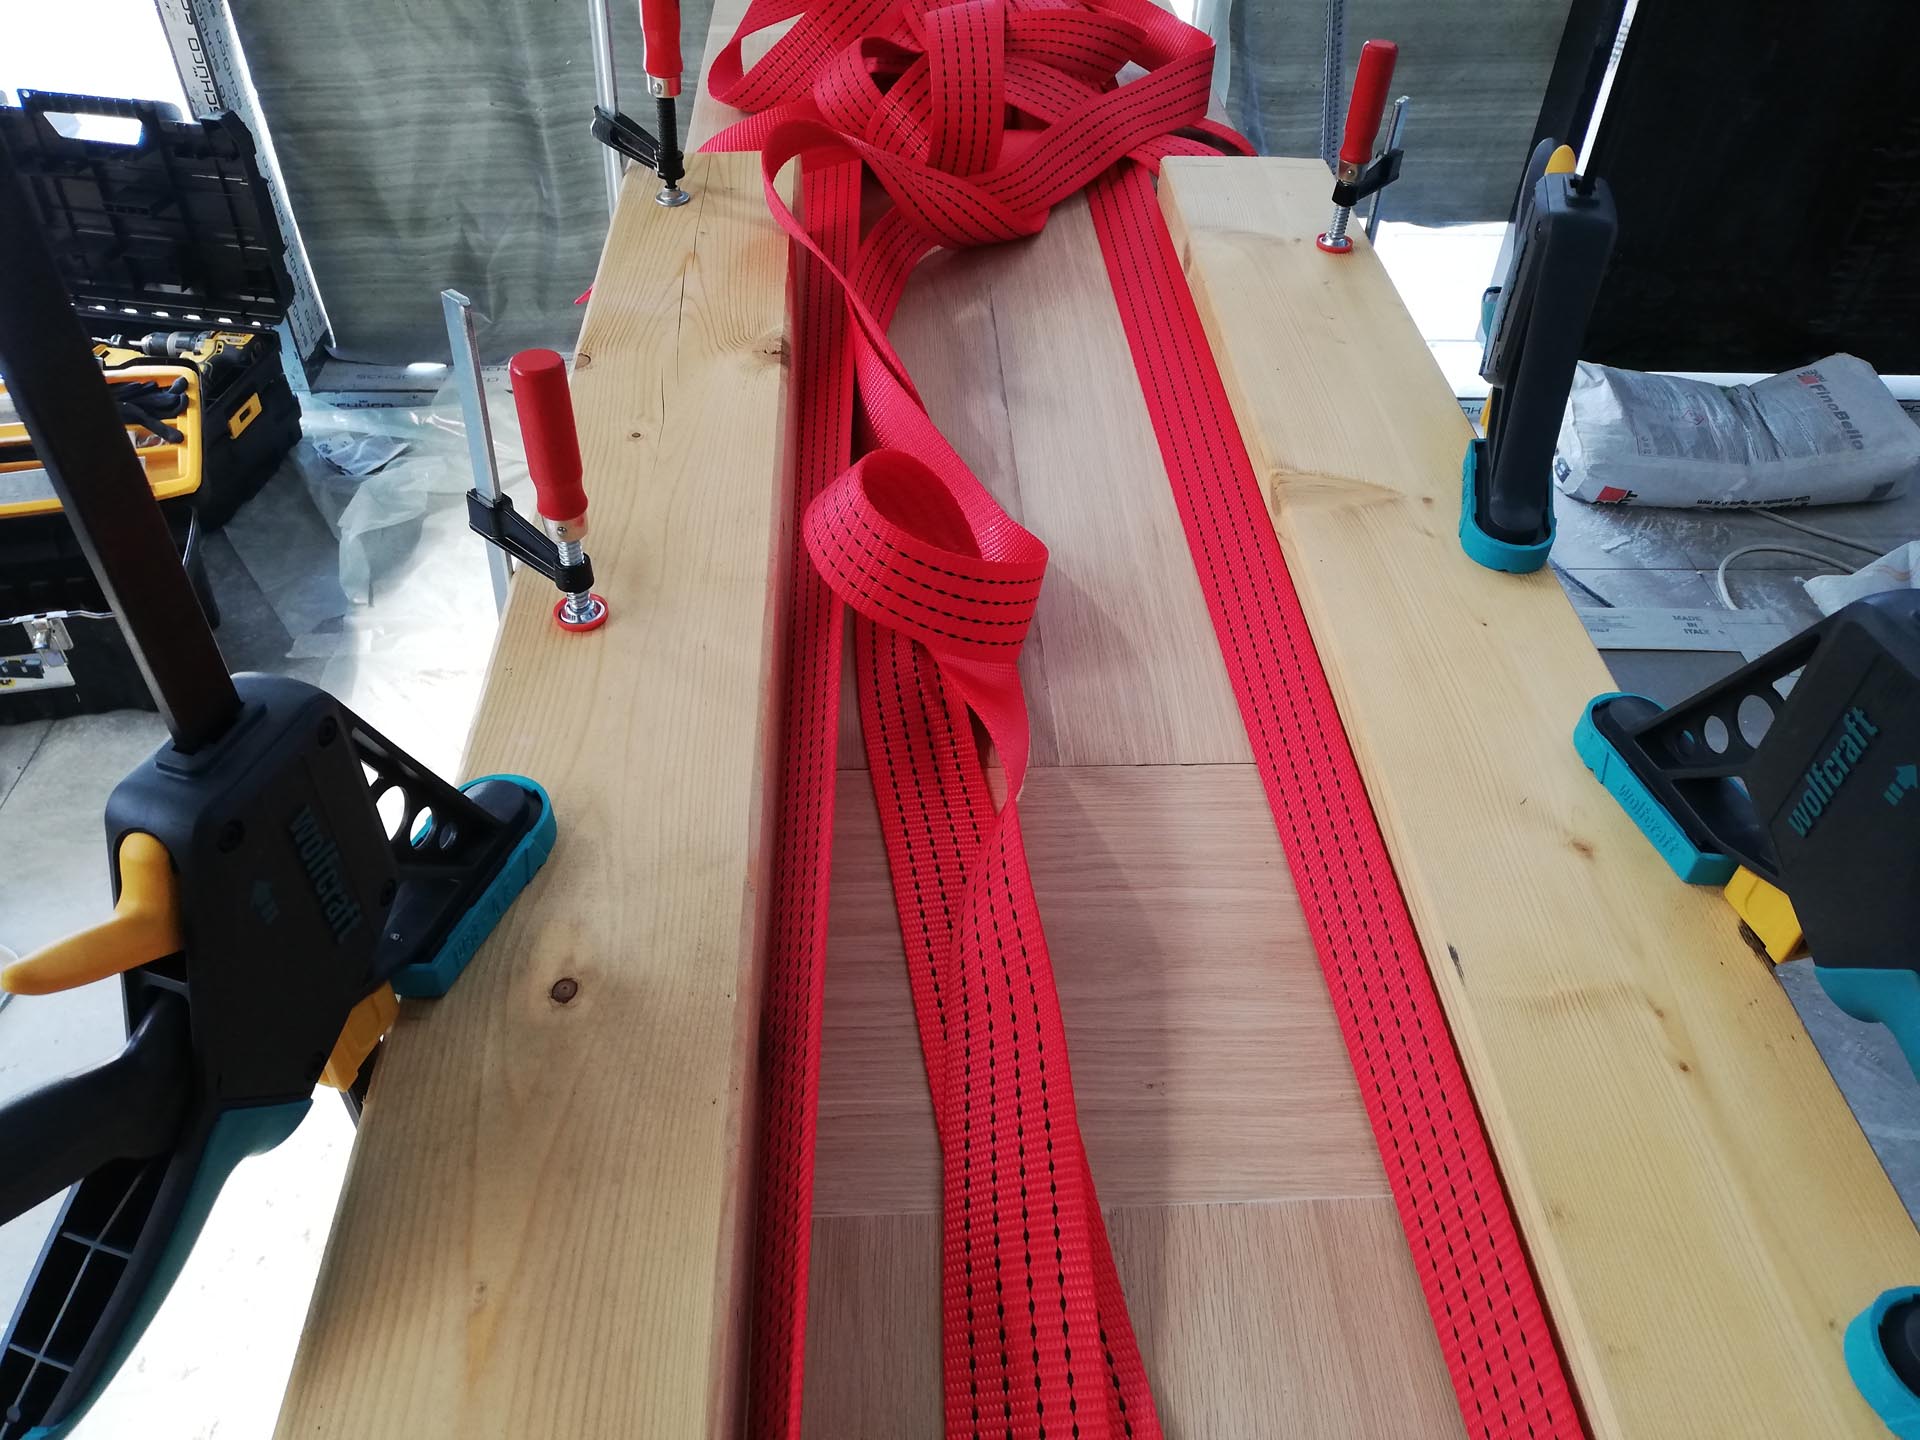
The wood part, except for the need for precision, was pretty straightforward once I had everything I needed: the wood planned and cut, dowels, glue, and clamps (lots of them).
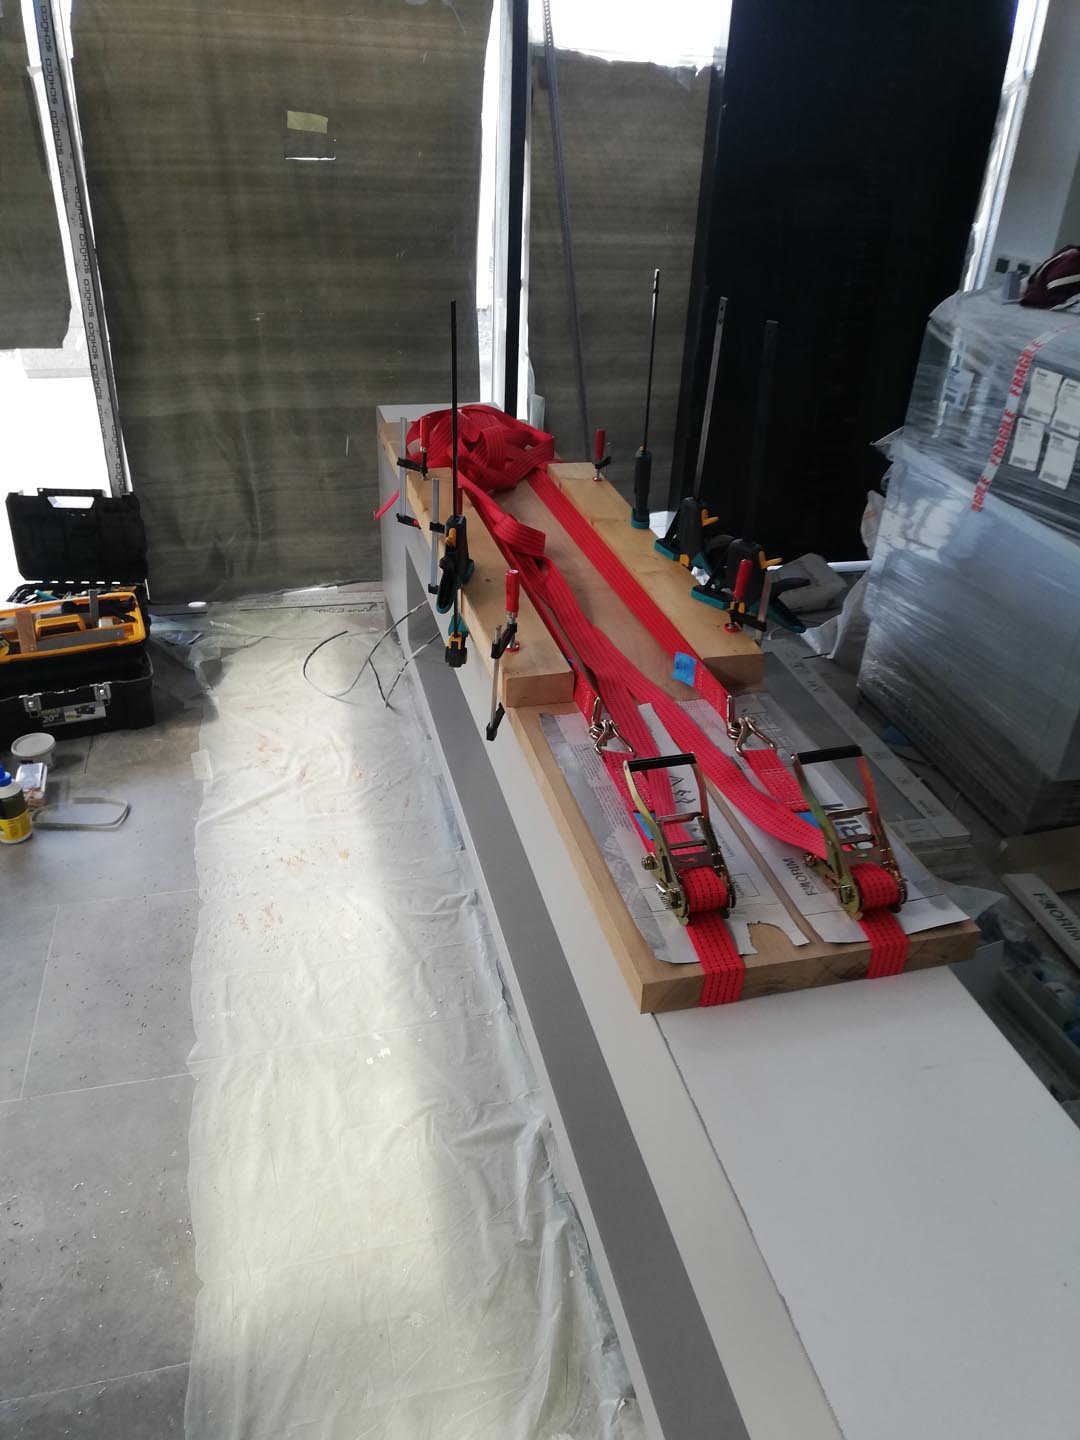
So I went to the location with four wood pieces, two resin ones, and a lot of tools. I started gluing the wood sections two at a time and tightened them with truck straps. This part was not so difficult, but I realized how long the final assembly would be and that I needed to be careful about how much tension I put on the straps. On the one hand, I needed a lot of tension, but on the other hand, the joint points tended to bend...
If I was to draw a comparison I would say that I felt like a Carrara stone cutter and a fine piano tuner at the same time
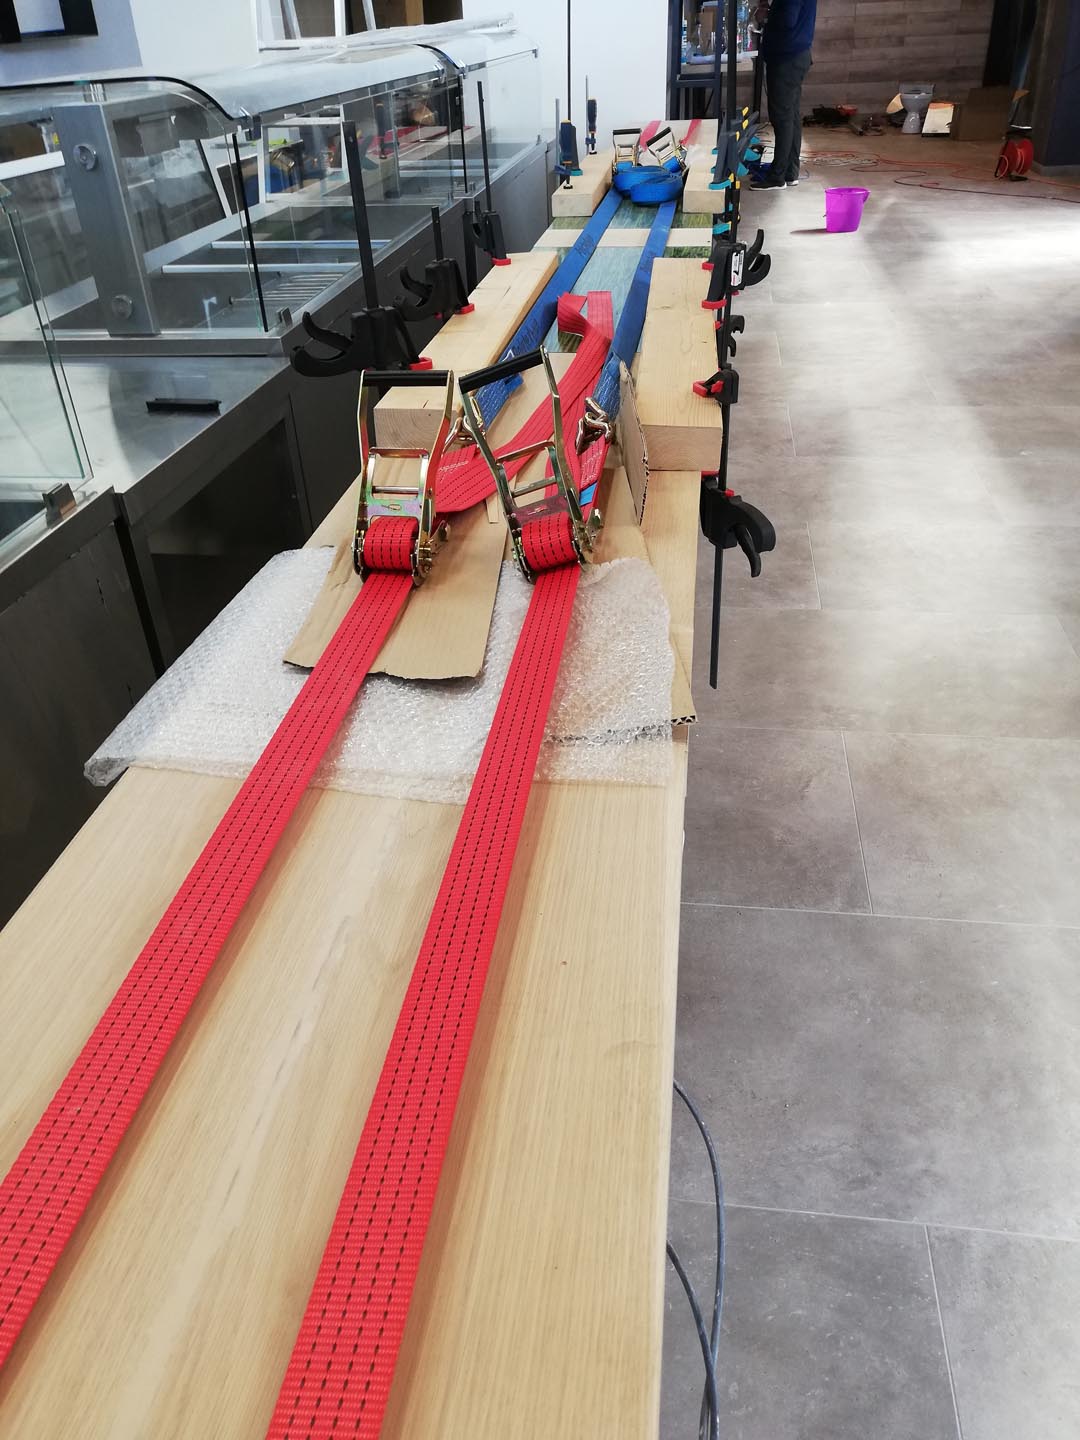
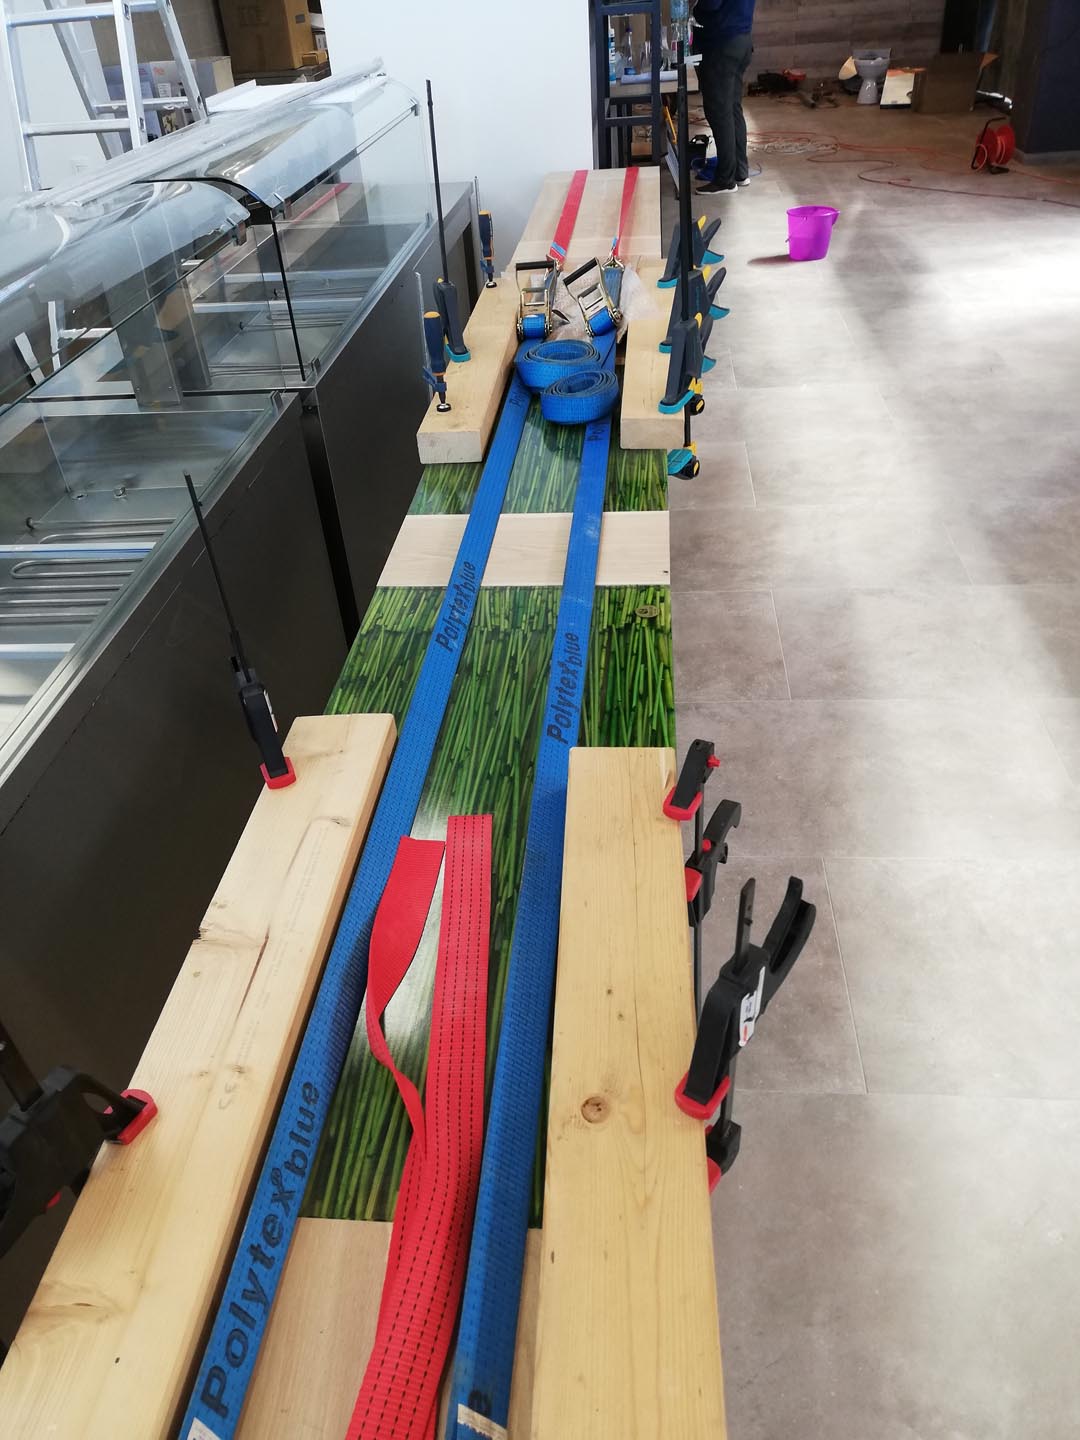
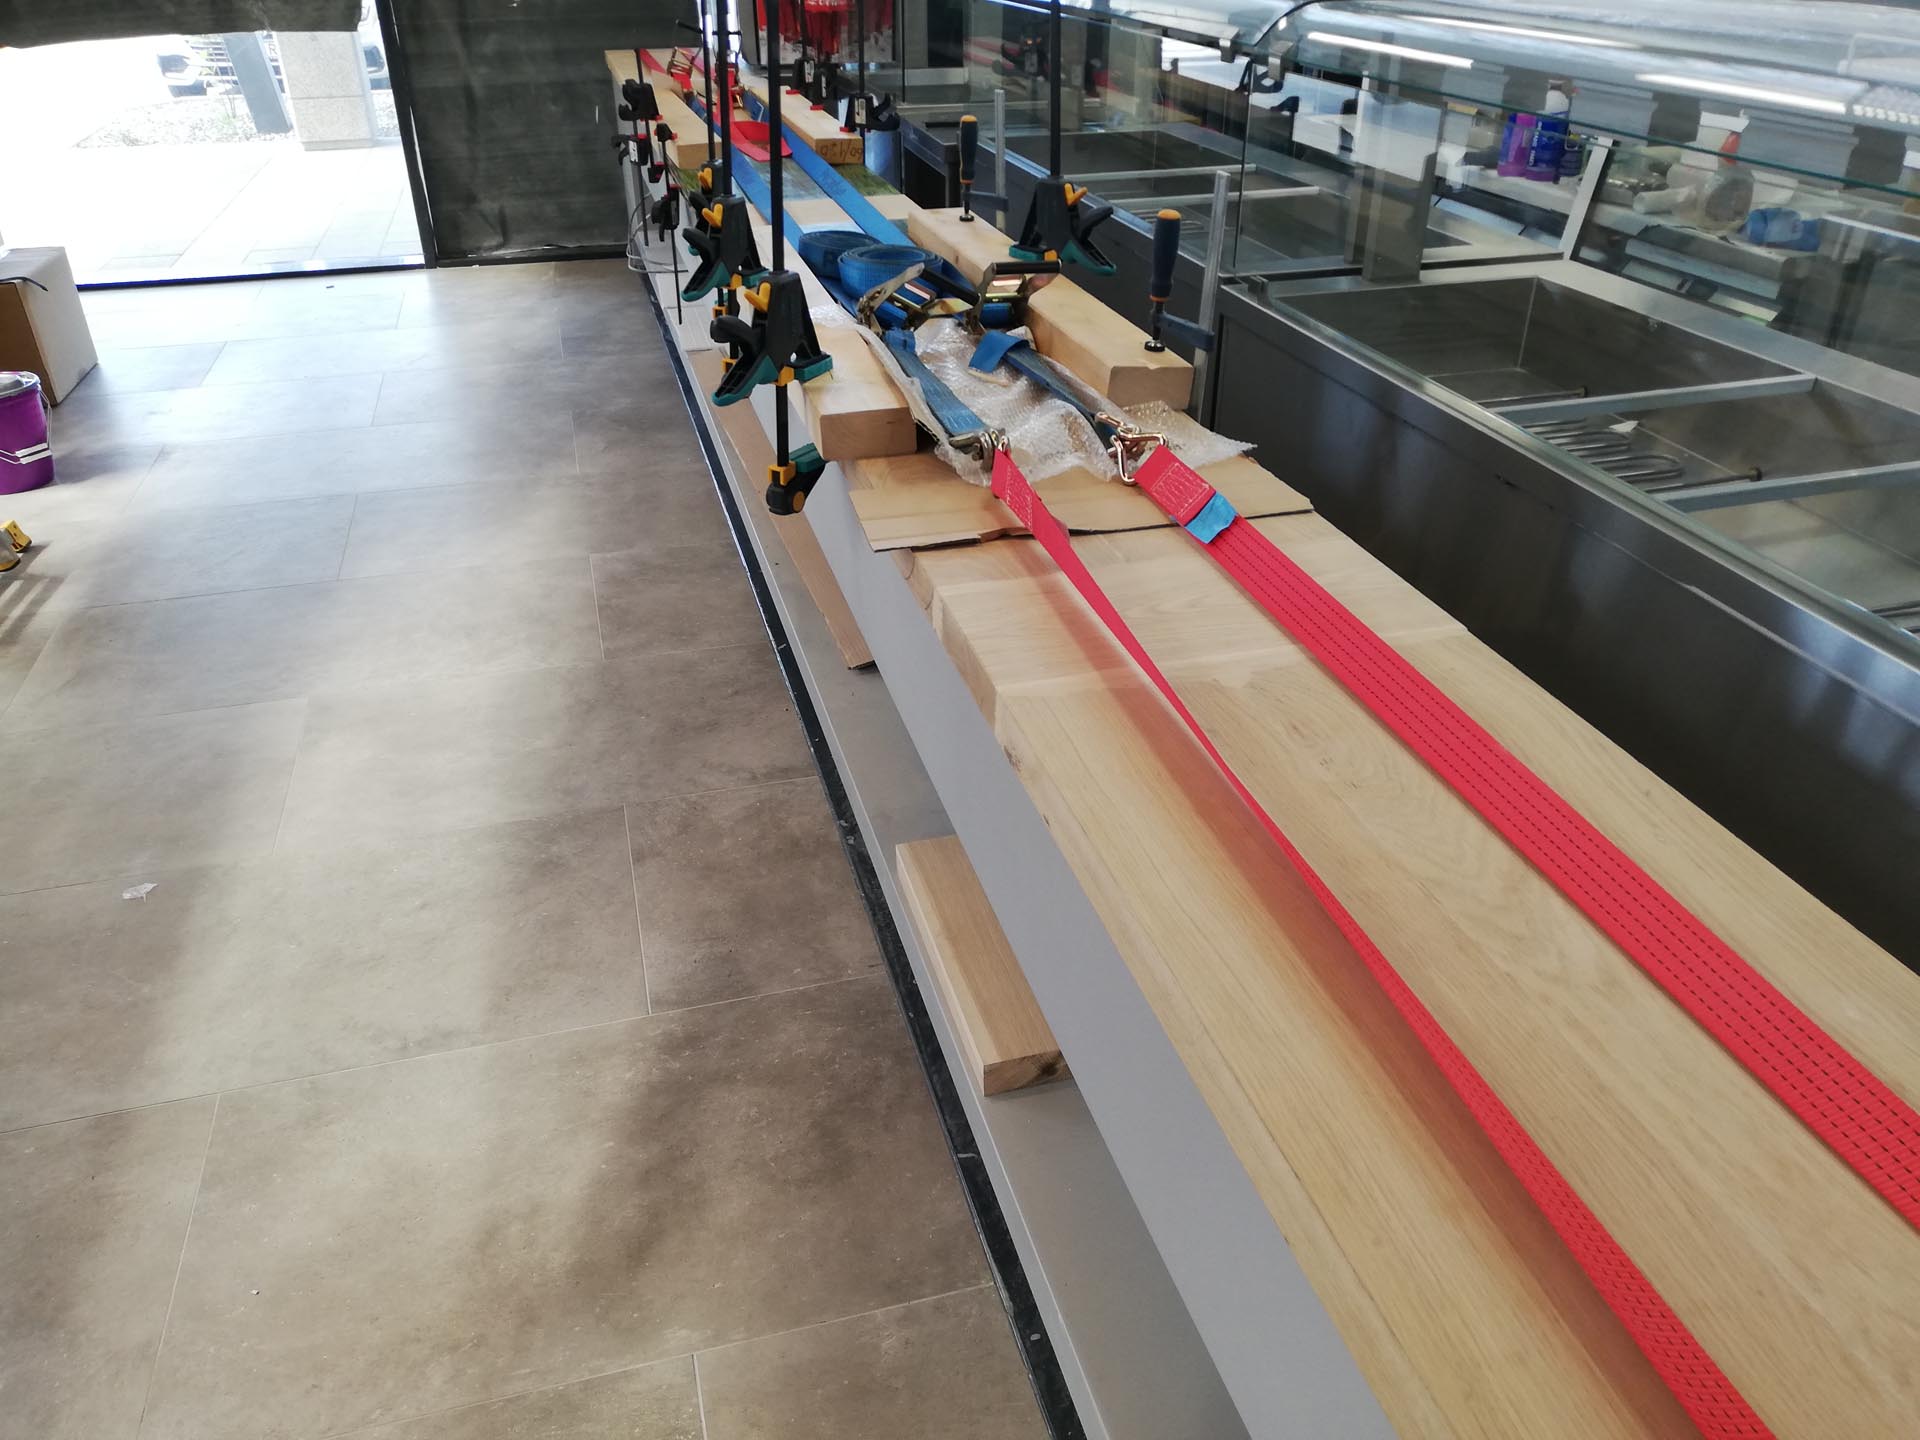
To get the length I needed, I had to tighten two straps together. I couldn't find longer ones in stores. After a lot of sweating and concentration, I was able to get it right.
I applied the final topcoat, a very hard resin for heavy usage, and this was the final result.
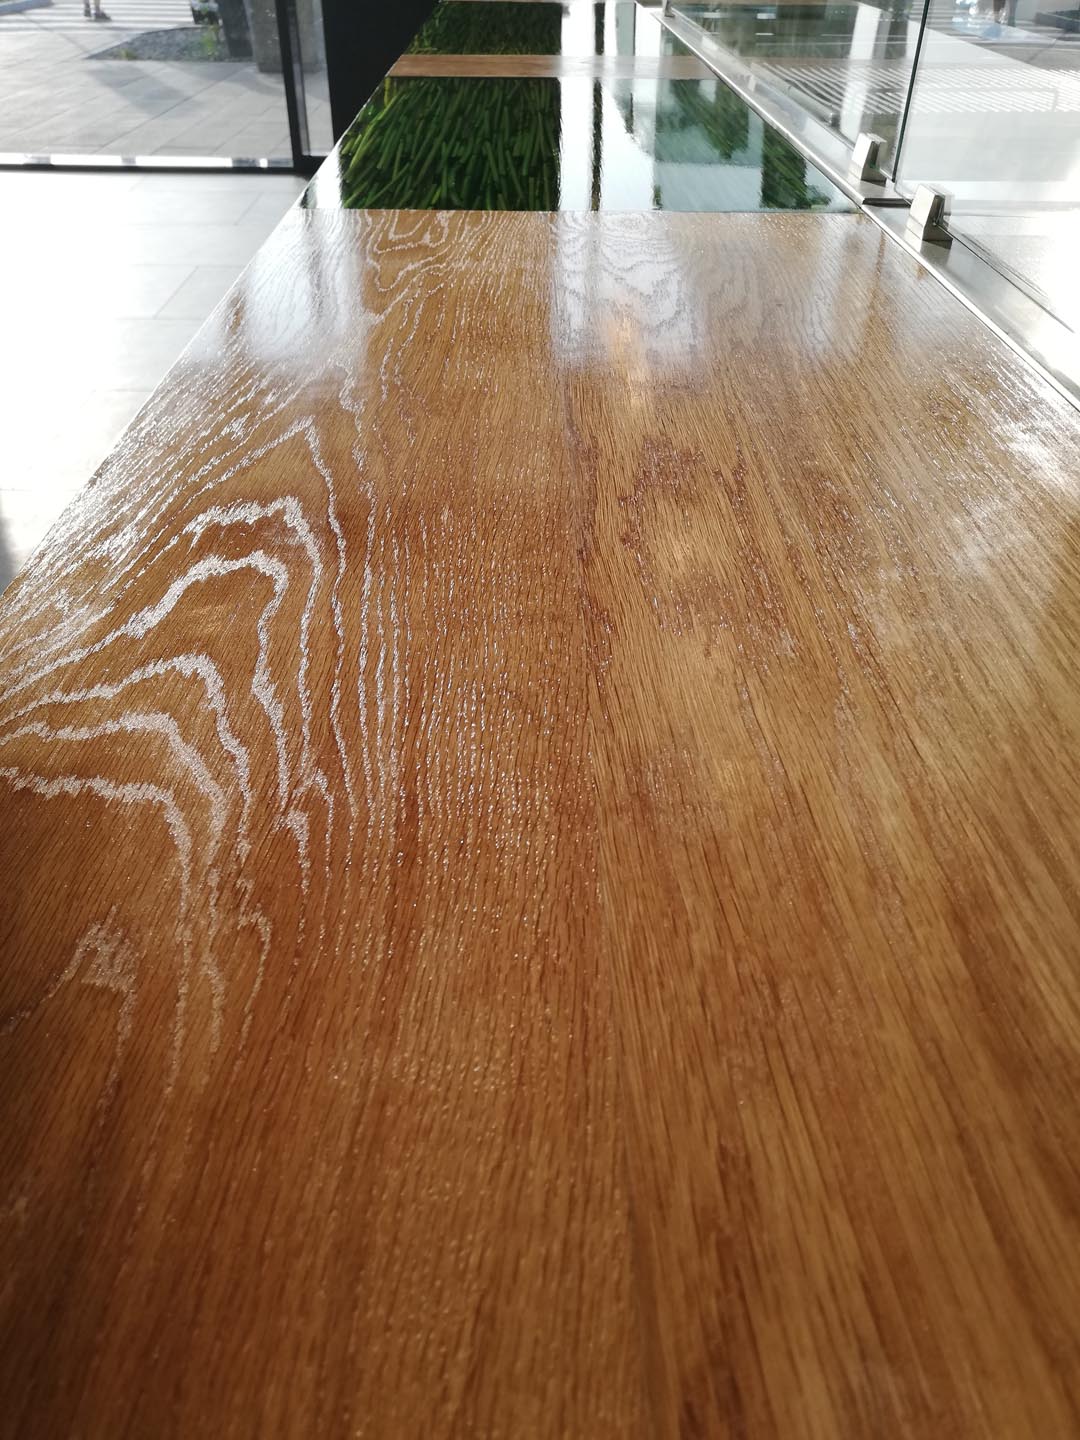
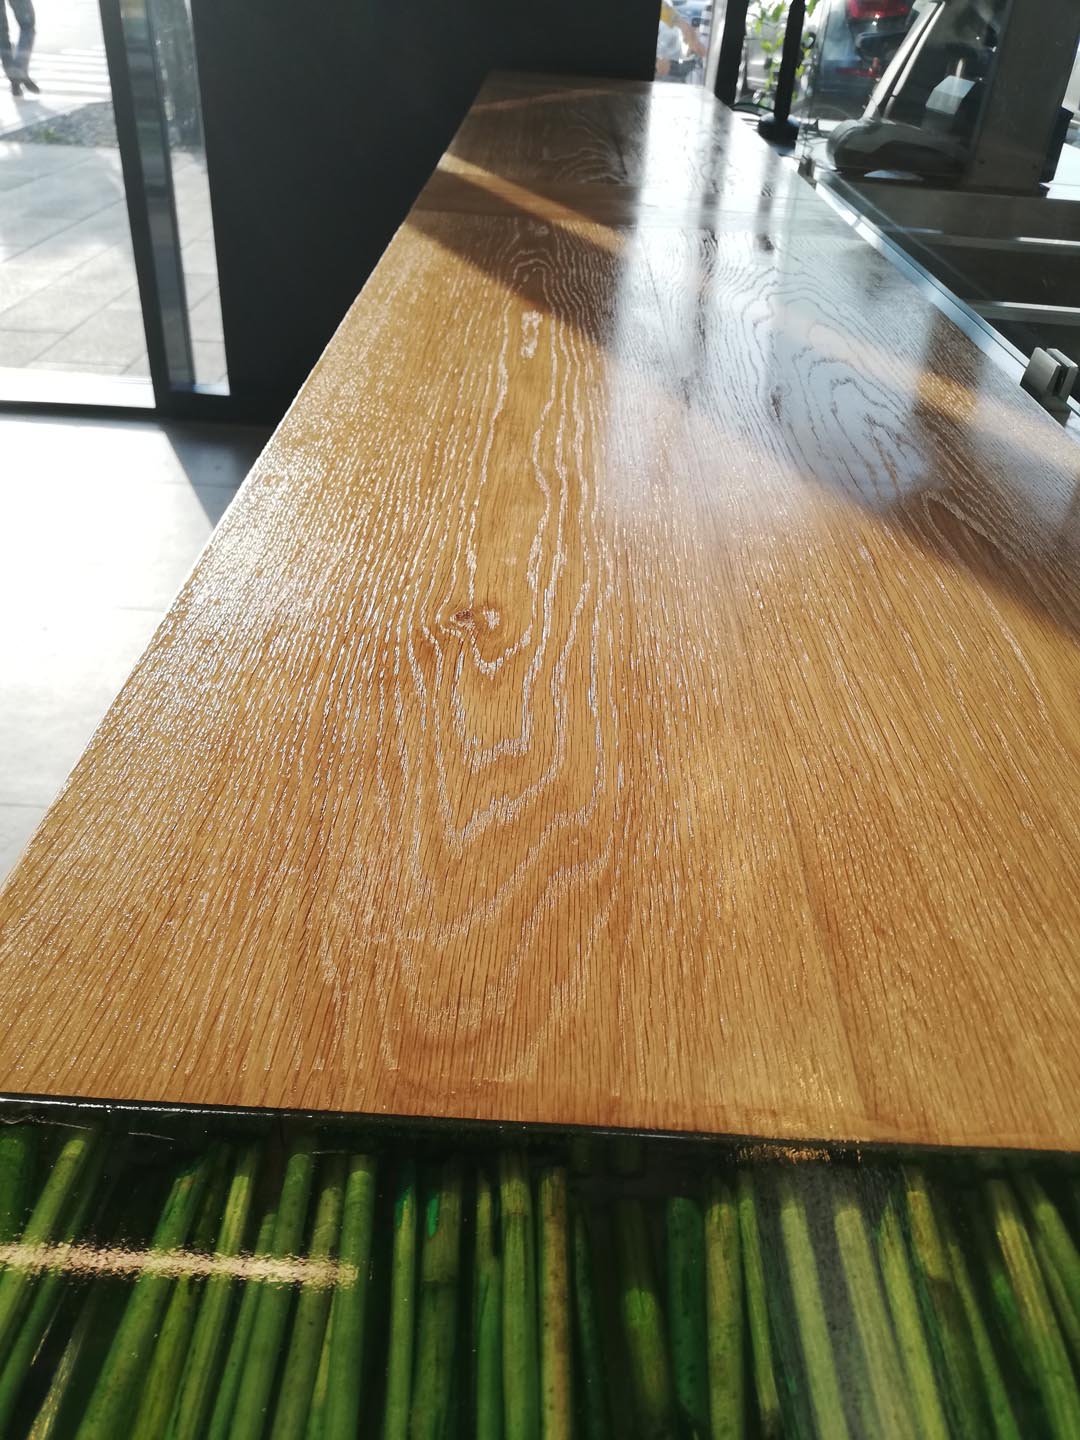
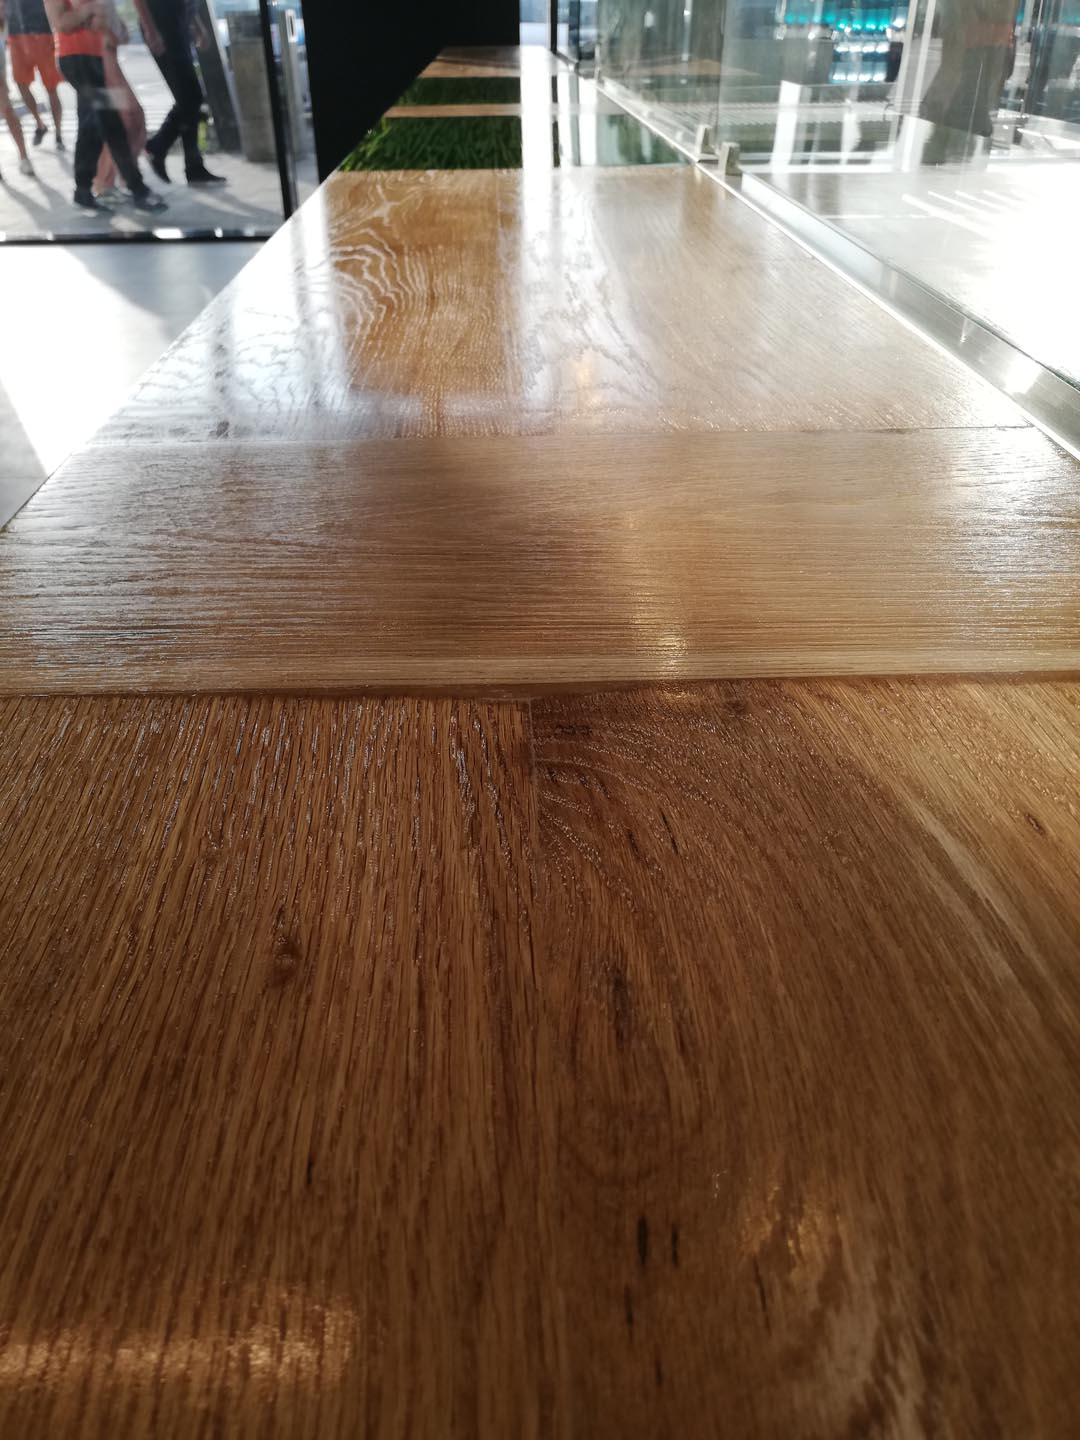
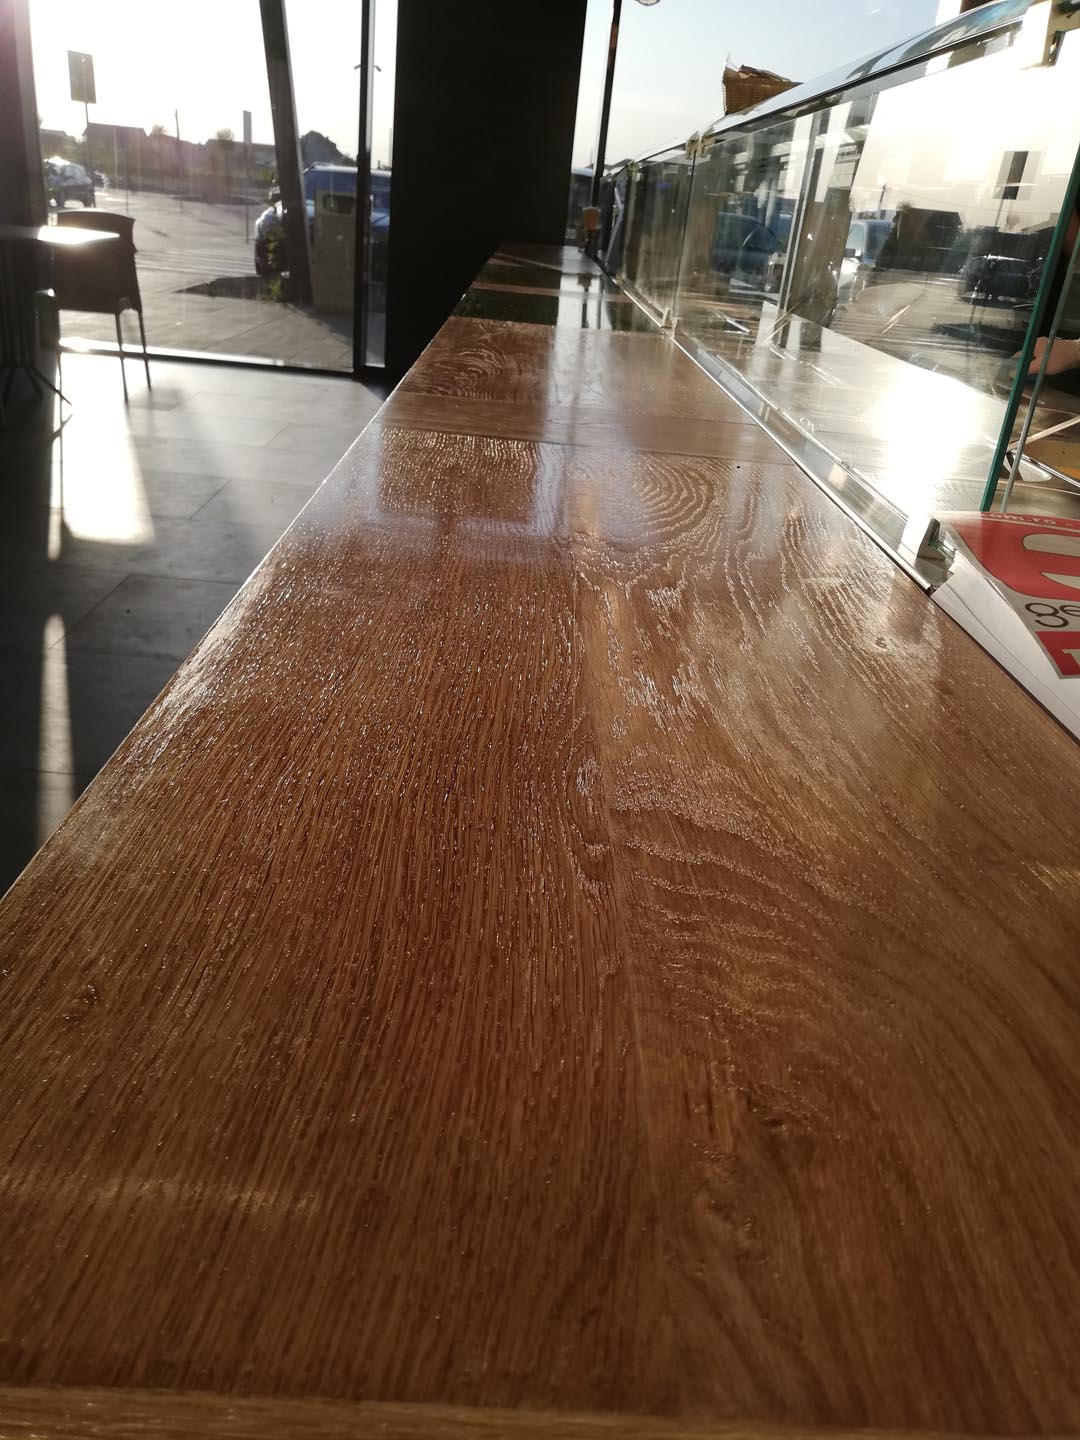
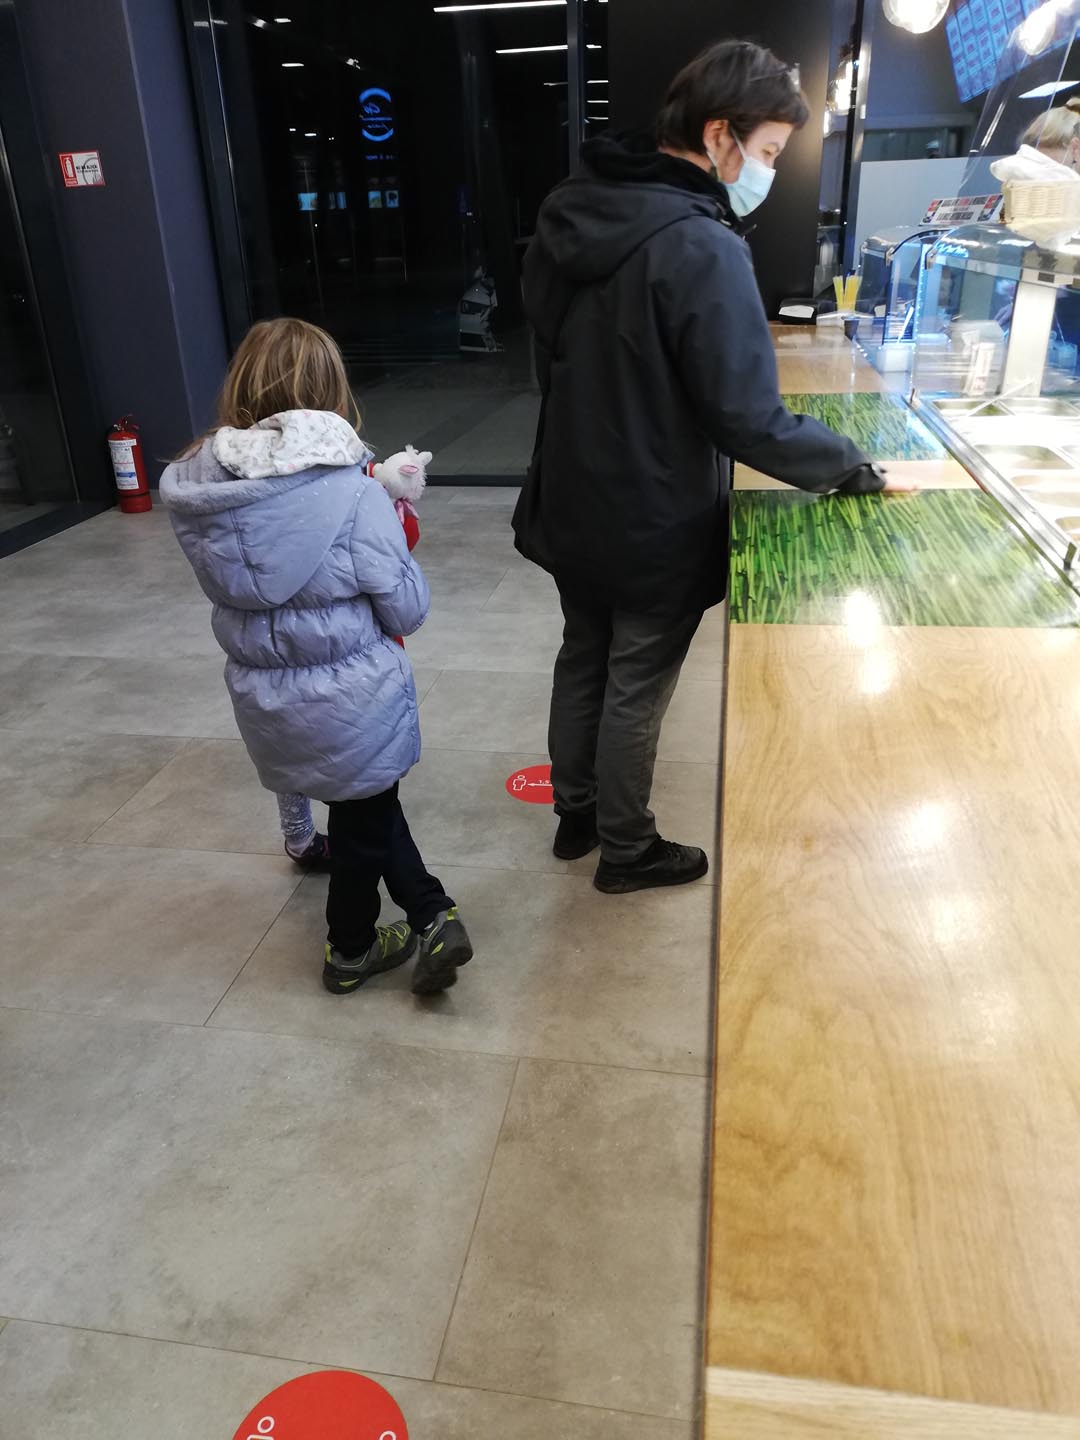
It's been two years since I did this job, and it still looks amazing. I mean, it looks strong, and considering the amount of usage per day, I was impressed. Since then, I moved abroad, but I made a quick trip back to Romania for a few days and squeezed in a visit to this location just to see how it looks. To be honest, I expected to see some scratches and obvious marks on the surface where hundreds of trays slide on it every day. With a new sanding and a layer of topcoat resin, it would look as good as the day it was made. It's a fast-food restaurant, where people want to be served quickly and run to their jobs without a lot of time. But from what I was told there, people stop for a second and admire the walls where my talented wife made a few moss and dry vegetal 2D works. The tabletop catches their eyes once they select their tray and, during the swing and slide of choosing the food, they sometimes whisper a word of admiration...and that's all that's needed.
I consider the mission complete and thank you for your patience if you made it to the end. Subscribe if you want more insight into my works, and if you consider this relevant, inspiring, or entertaining in some way. I will try to come up with different topics connected to what I have done so far.
So… as the vlams are saying ‘Tot volgende keer!’
Until next time! :)
Organik Wood
Dan